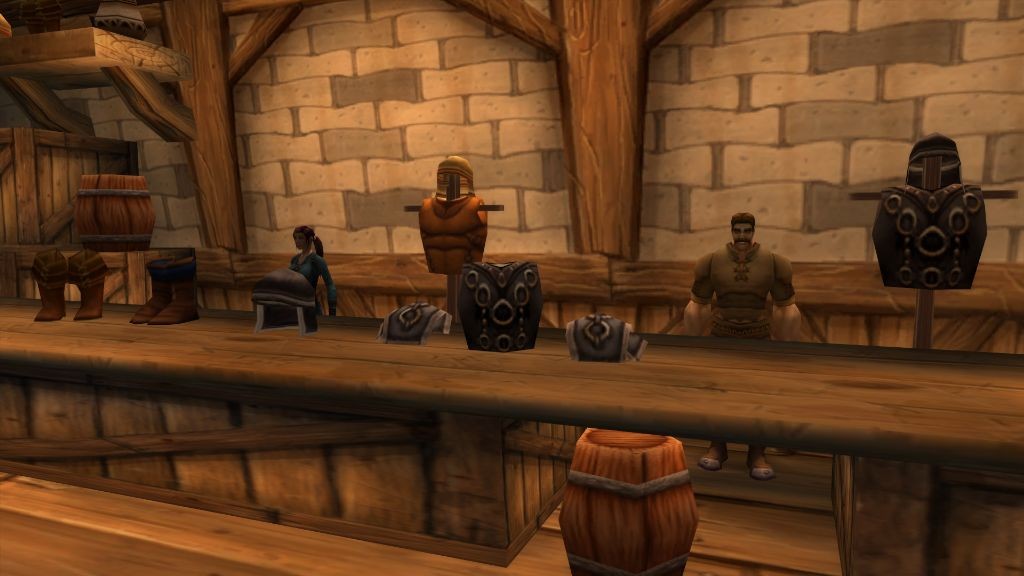
As a beginner in World of Warcraft’s Classic era, crafting can be a daunting task. But fear not! With the right recipes and a bit of patience, you can create top-notch gear to aid your adventure. One of the most versatile professions is Leatherworking, which allows players to craft armor, accessories, and more from the hides of various creatures. In this article, we’ll explore 20 essential leatherworking recipes perfect for beginners looking to get started or improve their skills.
From rugged pants to embossed vests, these recipes will help you create the gear you need to take on Azeroth’s challenges head-on. Whether you’re a tank, healer, or DPS, these items will provide the protection and support you need to succeed. So grab your leatherworking kit and let’s get started!
Rugged Leather Pants
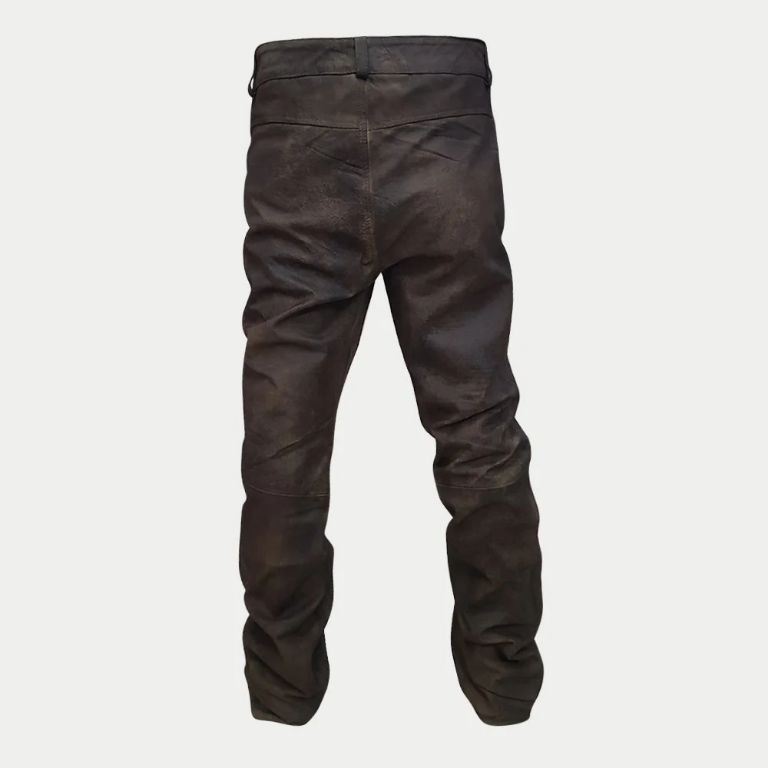
Get ready to toughen up your wardrobe game with this unconventional recipe! Rugged Leather Pants are perfect for those who want to make a statement on the streets or at the next cosplay event.
Ingredients:
– 1 cup of imagination
– 2 cups of creativity
– 1/4 teaspoon of sass
– A dash of self-expression
Instructions:
1. Start by visualizing the perfect pair of rugged leather pants in your mind.
2. Use your creative skills to design the pattern and cut out the leather pieces.
3. Assemble the pants using a sewing machine or needle and thread.
4. Add any embellishments you like, such as rivets, studs, or appliques.
5. Finish off the look with some rugged boots and a confident attitude.
Cooking time: N/A (Rugged Leather Pants are not edible)
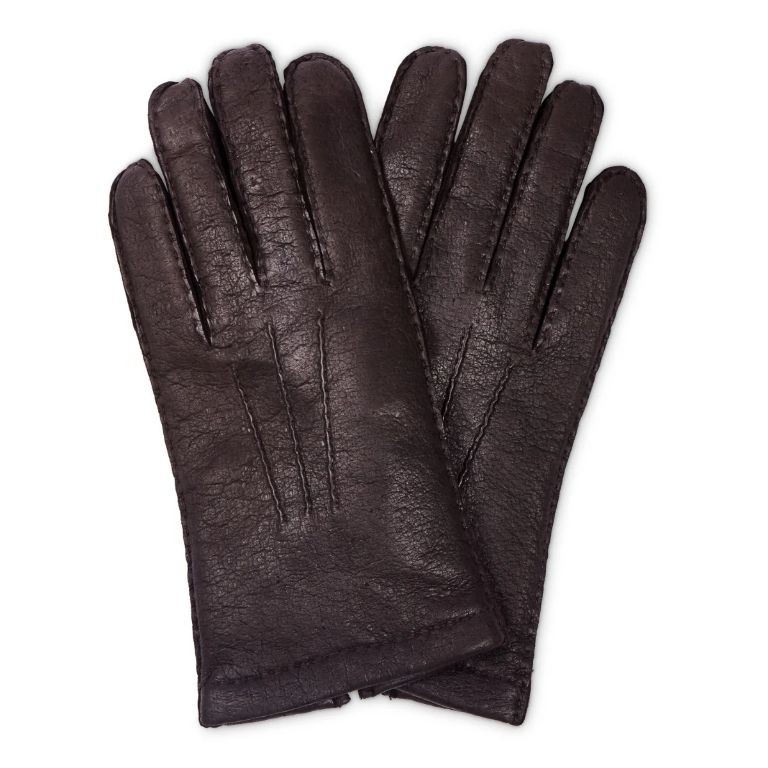
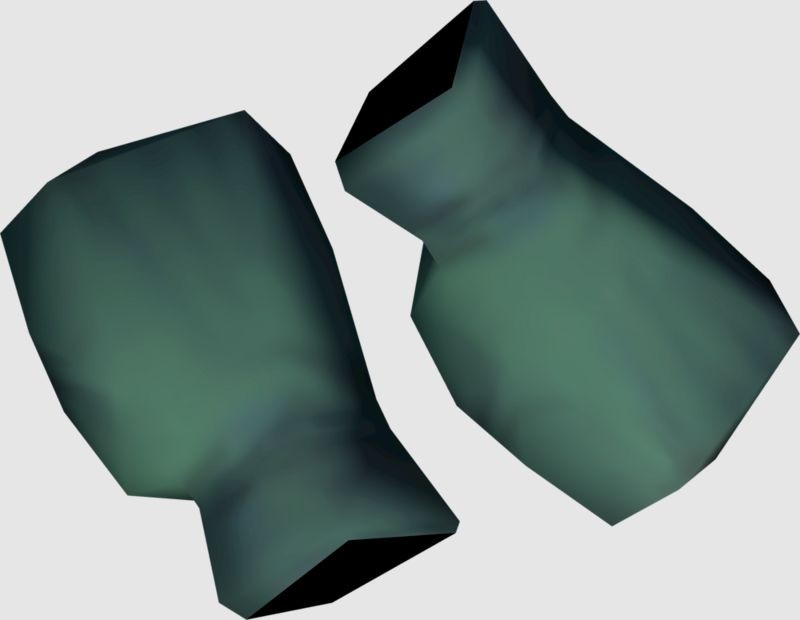
Fine Leather Gloves
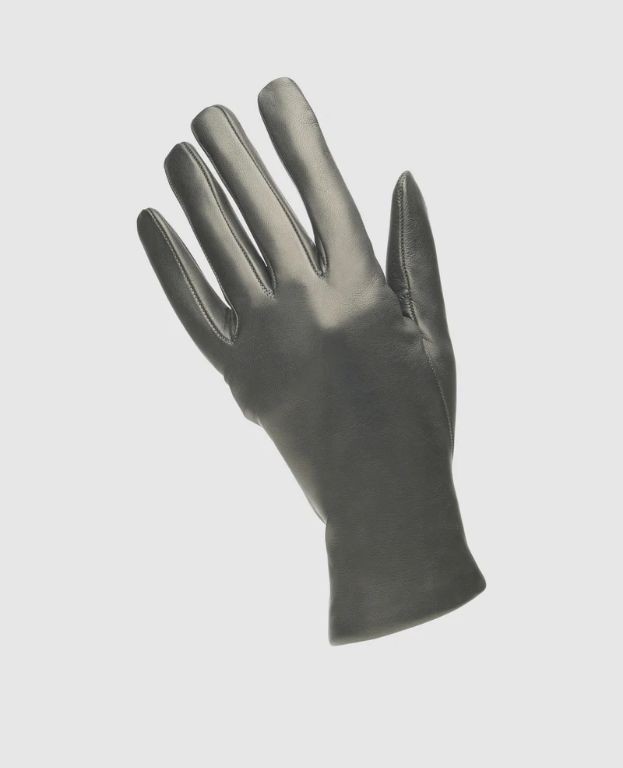
As you embark on this luxurious project, prepare to transform your hands into works of art. Fine leather gloves are not only a statement piece but also a testament to your dedication to craftsmanship.
Ingredients:
– 1 pair of high-quality leather (preferably fine-grained and supple)
– 1 sewing machine
– 1 needle
– Thread (matching the leather’s color)
– Measuring tape or ruler
Instructions:
1. Measure the dimensions of your hands to ensure a comfortable fit.
2. Cut out two glove patterns from the leather, leaving a small margin for seam allowance.
3. Sew the seams together using a simple running stitch or a decorative one, depending on your preference.
4. Turn the gloves right side out and press the seams with a hot iron.
5. Allow the gloves to dry completely before wearing.
Cooking Time: None! This is a craft project, not a culinary endeavor!
Embossed Leather Vest
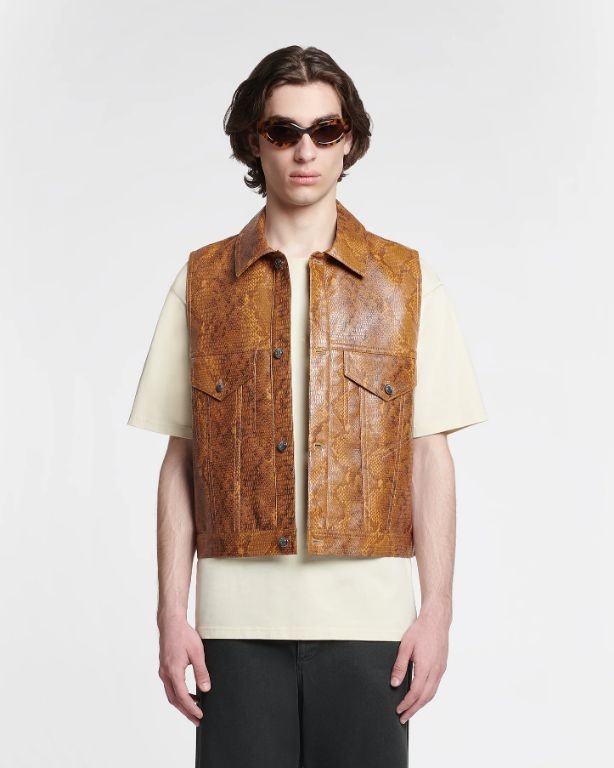
Transform plain leather into a stunning piece of wearable art with this simple guide.
Ingredients:
– 1-2 square feet of high-quality leather (depending on the design and size you want)
– Embossing tools (e.g., metal stamps, dies, or stencils)
– A strong adhesive (leather glue or epoxy)
– Thread (optional for decorative stitching)
Step-by-Step Instructions:
1. Cut out the leather to your desired vest shape.
2. Sketch your design onto the leather using a pencil or marker.
3. Use embossing tools to create the design, following manufacturer’s instructions.
4. Allow the leather to dry completely after embossing.
5. Apply adhesive to the edges of the leather and attach it to a backing material (e.g., cotton or fusible web).
6. Trim excess leather and add decorative stitching if desired.
Cooking Time: N/A (this is not a culinary recipe!)
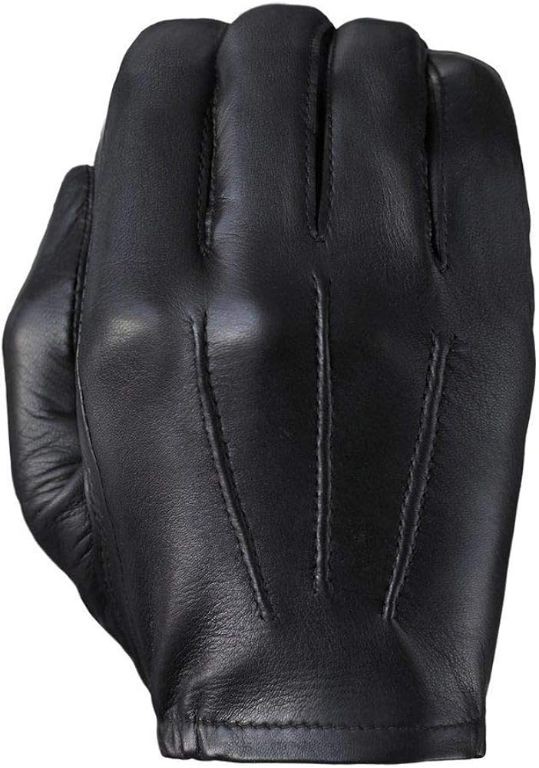
Dark Leather Gloves
Transform your DIY skills into a pair of rugged, dark leather gloves with this easy-to-follow recipe.
Ingredients:
– 1 yard of dark brown or black leather (suitable for glove making)
– 1/4 yard of contrasting leather or fabric for trim
– 1 package of strong thread (matching leather color)
– 2 pairs of scissors
– Leather working tools (e.g., leather mallet, cutting board)
Instructions:
1. Cut two main glove pieces from the dark leather, using a pattern or template to ensure accuracy.
2. Cut separate strips for finger holes and thumb hole from contrasting leather or fabric.
3. Use strong thread to sew finger and thumb holes onto the main leather pieces.
4. Assemble the gloves by sewing the sides together, starting at the cuff and working towards the fingertips.
5. Add any finishing touches (e.g., trimming excess thread, applying leather conditioner).
Cooking Time: 2-3 hours (depending on your skill level and desired detail)
Barbaric Leggings
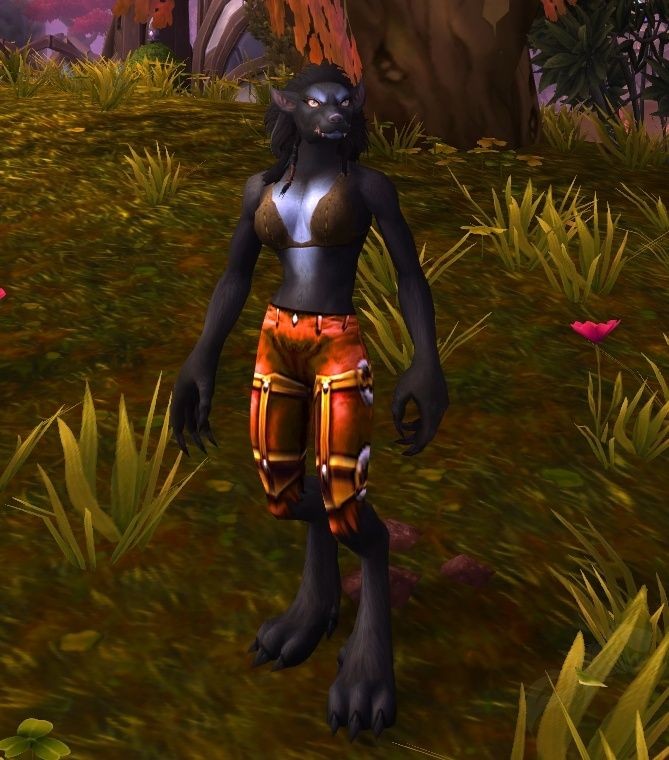
Get ready to flex your culinary muscles with this hearty, no-nonsense recipe that’s sure to satisfy even the most rugged appetites!
Ingredients:
– 1 pound beef short ribs
– 2 tablespoons olive oil
– 1 onion, chopped
– 3 cloves garlic, minced
– 1 cup red wine
– 1 cup beef broth
– 1 tablespoon tomato paste
– 1 teaspoon dried thyme
– Salt and pepper to taste
Instructions:
1. Preheat oven to 300°F (150°C).
2. In a large Dutch oven, heat oil over medium-high. Brown short ribs in batches, then set aside.
3. Add onion and garlic; cook until softened, about 5 minutes.
4. Add wine, broth, tomato paste, thyme, salt, and pepper. Stir to combine.
5. Return short ribs to pot; cover with lid or foil. Bake for 2 1/2 hours.
6. Serve hot, garnished with fresh parsley if desired.
Cooking Time: 2 1/2 hours
Thick Leather Ammo Pouch
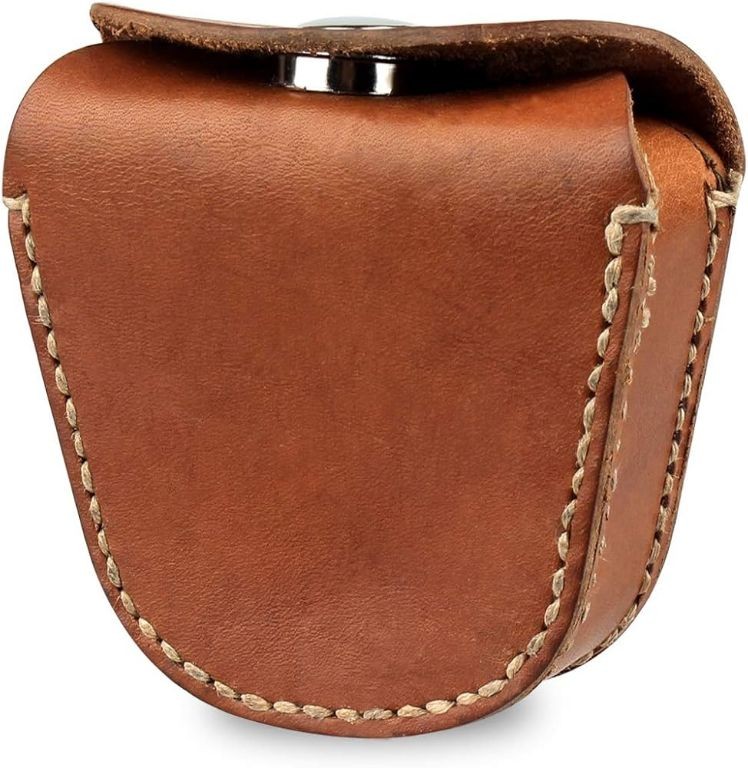
Create a rugged and reliable ammo pouch using thick leather and simple stitching techniques.
Ingredients:
– 1 piece of 8-10 oz thick leather (approx. 6″ x 4″)
– Thread (color of your choice)
– Leather needle
– Scissors or leather shears
– Measuring tape or ruler
Instructions:
1. Cut the leather to the desired shape and size for your ammo pouch.
2. Measure and mark the center of the leather, then draw a rectangle around it (approx. 3″ x 2″).
3. Cut along the lines to create the pouch’s body.
4. Fold the edges over twice and sew in place using a leather needle and thread.
5. Repeat steps 2-4 for the flap, leaving a small gap for turning right side out.
6. Turn the pouch and flap right side out, then fill with ammo (or your preferred item).
Cooking Time: N/A (this is a DIY project!)
Handstitched Leather Cloak
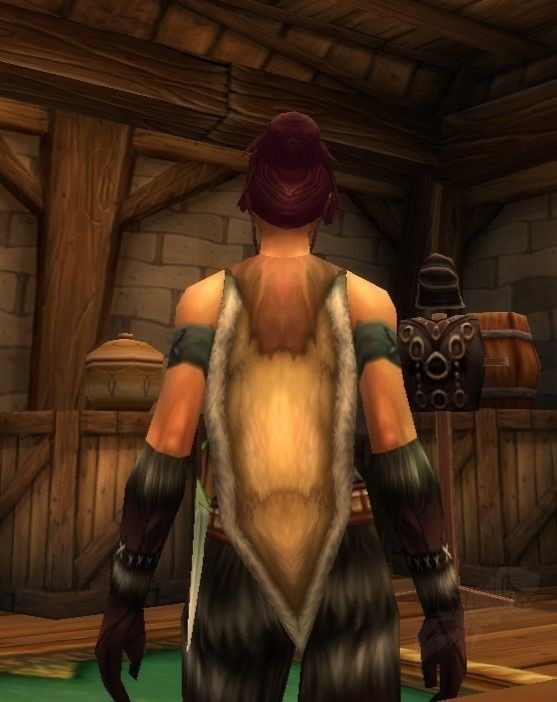
Hand-Stitched Leather Cloak Recipe
A timeless piece of art, this hand-stitched leather cloak recipe will guide you through the process of creating a stunning garment.
- 1 yard of high-quality leather (brown or black)
- Thread (matching the color of your leather)
- Sewing needles and thread (matching the color of your leather)
- Measuring tape or ruler
- Pencil or marker
- Optional: embroidery floss, beads, or other decorative elements
- Measure and cut out the leather pattern according to your desired cloak design.
- Thread your sewing needle with matching thread and begin stitching the leather pieces together.
- Continue stitching until the entire cloak is complete, leaving a small opening for turning it right side out.
- Carefully turn the cloak right side out through the opening and press the seams flat.
No cooking time required! This project will take patience and dedication, but the result will be a stunning piece of handmade art that you can wear with pride.
Cured Heavy Hide
A classic preserve that showcases the rich flavor of heavy hide (also known as beef cheeks). This recipe yields a tender, flavorful cure perfect for sandwiches or served on its own.
Ingredients:
– 1 lb heavy hide (beef cheeks), sliced into thin strips
– 1 cup kosher salt
– 1/2 cup brown sugar
– 1/4 cup pink curing salt (#1)
– 1/4 cup black pepper, freshly ground
– 2 tbsp coriander seeds
– 2 tbsp mustard seeds
– 2 tbsp water
Instructions:
1. In a small bowl, mix together kosher salt, brown sugar, pink curing salt, black pepper, coriander seeds, and mustard seeds.
2. Rub the cure mixture evenly onto both sides of the heavy hide strips, making sure to cover all surfaces.
3. Place the cured meat on a wire rack set over a rimmed baking sheet or tray, leaving some space between each piece.
4. Let the meat cure in the refrigerator for 7-10 days, or until it reaches your desired level of cure.
5. After curing, rinse the heavy hide under cold running water to remove excess salt and pat dry with paper towels.
Cooking Time: None needed; serve as is or use in recipes.
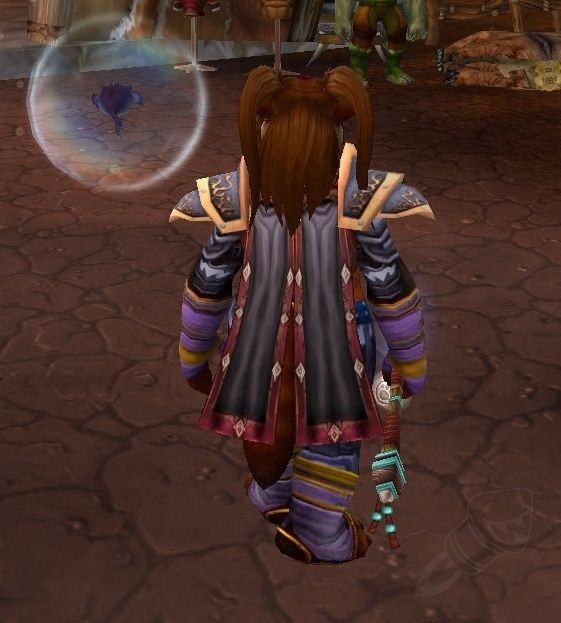
Nightscape Boots

Experience the perfect blend of warm spices and rich chocolate with these Nightscape Boots, a decadent treat to satisfy any sweet tooth.
Ingredients:
– 1 cup dark chocolate chips (at least 60% cocoa)
– 1/2 cup heavy cream
– 1 tablespoon unsalted butter
– 1 teaspoon ground cinnamon
– 1/4 teaspoon ground cardamom
– 1/4 teaspoon salt
– 1/4 cup chopped pecans or walnuts (optional)
Instructions:
1. Preheat oven to 350°F (180°C).
2. In a medium bowl, whisk together heavy cream and butter until smooth.
3. Add cinnamon, cardamom, and salt; whisk until combined.
4. Melt chocolate chips in a double boiler or in the microwave in 30-second increments, stirring between each interval.
5. Stir melted chocolate into the cream mixture until well combined.
6. Pour the mixture into a lined or greased 8-inch square baking dish.
7. If using nuts, sprinkle them on top of the mixture.
8. Bake for 25-30 minutes or until the edges are set and the center is slightly jiggly.
9. Let cool completely before cutting into squares.
Cooking Time: 25-30 minutes
Toughened Leather Gloves
Are your hands fragile and in need of some serious protection? Look no further! This recipe will guide you through the process of creating toughened leather gloves, perfect for handling rough materials or engaging in outdoor activities.
Ingredients:
– 1 pair of cowhide leather gloves (pre-conditioned)
– Leather conditioner
– Waterproofing spray
– Thread
– Scissors
Instructions:
1. Apply leather conditioner to both sides of the gloves and let them sit for 30 minutes.
2. Use a clean cloth to wipe off any excess conditioner.
3. Spray waterproofing agent on both sides of the gloves, making sure they’re evenly coated.
4. Allow the gloves to dry completely (this may take several hours).
5. Once dry, trim any excess thread or debris from the seams.
Cooking Time: N/A (this is a DIY project, not a culinary one!)
Deviate Scale Belt

This exotic blend of flavors and textures is perfect for adventurous eaters. The combination of sweet and savory notes will leave you wanting more.
Ingredients:
– 1 cup mixed berries (blueberries, raspberries, blackberries)
– 1/2 cup chopped fresh pineapple
– 1/4 cup chopped pecans
– 1 tablespoon honey
– 1 tablespoon lime juice
– Salt to taste
Instructions:
1. In a medium bowl, mix together berries and pineapple.
2. In a small bowl, whisk together honey and lime juice until well combined.
3. Pour the honey-lime mixture over the berry mixture and stir until coated.
4. Sprinkle chopped pecans on top.
5. Serve immediately or refrigerate for up to 2 hours.
Cooking Time: None (this is a no-bake recipe)
Dark Leather Belt
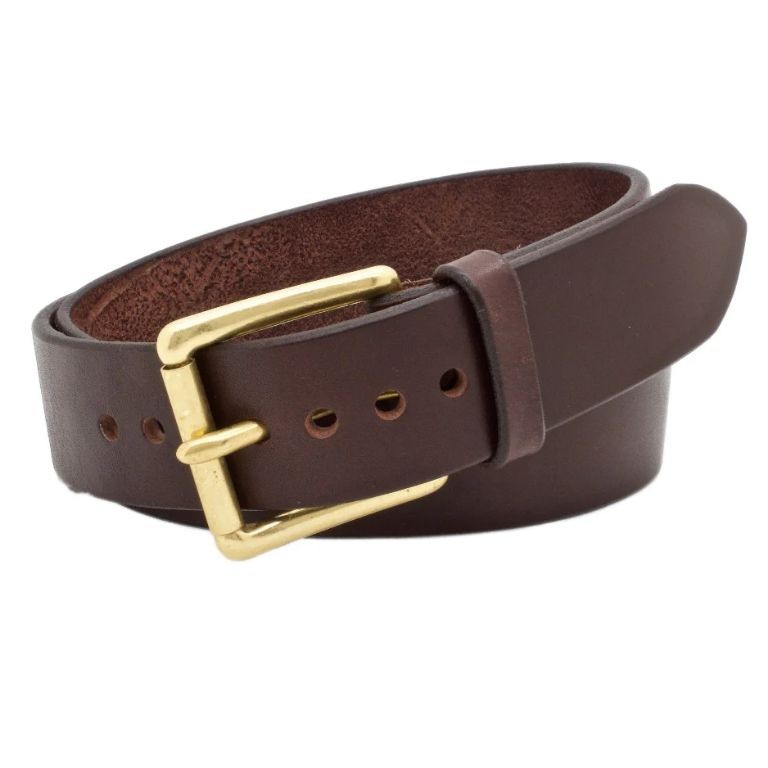
Create a stylish and mysterious accessory with this simple recipe.
Ingredients:
– 1 square meter of dark leather (vegetable-tanned or patent leather)
– 2 metal buckles (black or silver)
– 1 spool of heavy-duty thread (matching the belt’s color)
– Scissors, hole punch, and sewing needles
– Measuring tape or ruler
Instructions:
1. Cut a rectangular piece from the leather to your desired belt size.
2. Punch two holes at the top for the buckle and one at the bottom for the closure.
3. Thread the buckles onto the belt, leaving about 5 cm of excess thread.
4. Tie the excess thread in a secure knot.
5. Trim any excess leather or thread.
Cooking Time: None (this is a crafting project, not a meal!)
Comfortable Leather Hat
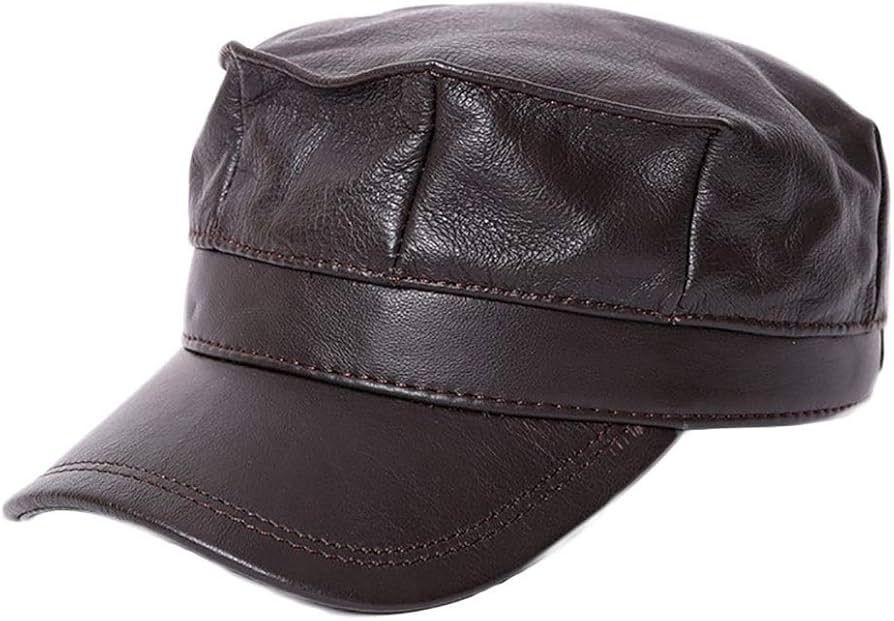
Imagine donning a stylish leather hat that makes you feel like a true gent or lady. This recipe requires patience, skill, and a willingness to shape your creativity into a wearable masterpiece.
Ingredients:
– 1 piece of high-quality leather (depending on the style, approximately 0.5-2 square feet)
– Leather-working tools (e.g., awl, hammer, chisel, mallet)
– Thread or yarn for stitching
– Measuring tape or ruler
– Cutting mat or other protective surface
Instructions:
1. Measure and cut out your leather pattern according to the design you want.
2. Use your leather-working tools to shape and craft the hat’s body, brim, and any additional features (e.g., chin strap).
3. Stitch together the leather pieces using thread or yarn.
4. Allow the stitches to dry and set before wearing.
Cooking Time: N/A
Hillman’s Leather Gloves

Get ready to fall in love with these tender and flavorful ribs smothered in a rich, leather-like glaze.
Ingredients:
– 2 pounds beef ribs
– 1/4 cup honey
– 1/4 cup brown sugar
– 2 tablespoons soy sauce
– 2 tablespoons apple cider vinegar
– 1 tablespoon Worcestershire sauce
– 1 teaspoon smoked paprika
Instructions:
1. Preheat oven to 300°F (150°C).
2. In a small bowl, mix together honey, brown sugar, soy sauce, apple cider vinegar, Worcestershire sauce, and smoked paprika.
3. Place ribs on a baking sheet lined with parchment paper.
4. Brush the glaze all over the ribs, making sure they’re fully coated.
5. Bake for 2 hours or until tender and caramelized.
Cooking Time: 2 hours
Guardian Leather Bracers

Protect yourself with these sturdy bracers, crafted from supple leather and infused with ancient magic.
Ingredients:
– 2 square feet of brown leather (dried and cleaned)
– 1/4 teaspoon of Moonstone Dust
– 1/8 teaspoon of Dragon’s Breath Powder
– 3 copper wire wraps
– Thread (color of your choice)
Instructions:
1. Cut the leather into four rectangular shapes, each approximately 6 inches long.
2. In a small bowl, mix together the Moonstone Dust and Dragon’s Breath Powder to create a mystical blend.
3. Apply a thin layer of the powder mixture onto one side of each leather piece.
4. Wrap each piece with copper wire, securing it tightly around the edges.
5. Thread the wrapped leather pieces together to form bracers, leaving a small gap for your arm.
6. Allow the leather to dry and harden under the light of the full moon.
Cooking Time: 2 days (depending on moon phase)
Fletcher’s Gloves
A classic English dessert, Fletcher’s Gloves are crispy pastry pockets filled with sweet, buttery custard and caramelized sugar. This recipe is a simplified version of the traditional treat.
Ingredients:
– 1 package of puff pastry, thawed
– 1/2 cup granulated sugar
– 1/4 cup light corn syrup
– 1/2 teaspoon salt
– 1/2 cup heavy cream
– 2 large egg yolks
Instructions:
1. Preheat oven to 400°F (200°C).
2. Roll out the puff pastry on a floured surface to about 1/8 inch thickness.
3. Cut out squares of pastry, approximately 4 inches per side.
4. Place a spoonful of sugar and corn syrup mixture in the center of each square.
5. Fold the pastry into gloves by bringing together two opposite corners and pressing edges to seal.
6. Brush tops with heavy cream and egg yolks.
7. Bake for 20-25 minutes, or until golden brown.
Cooking Time: 20-25 minutes
Green Leather Armor
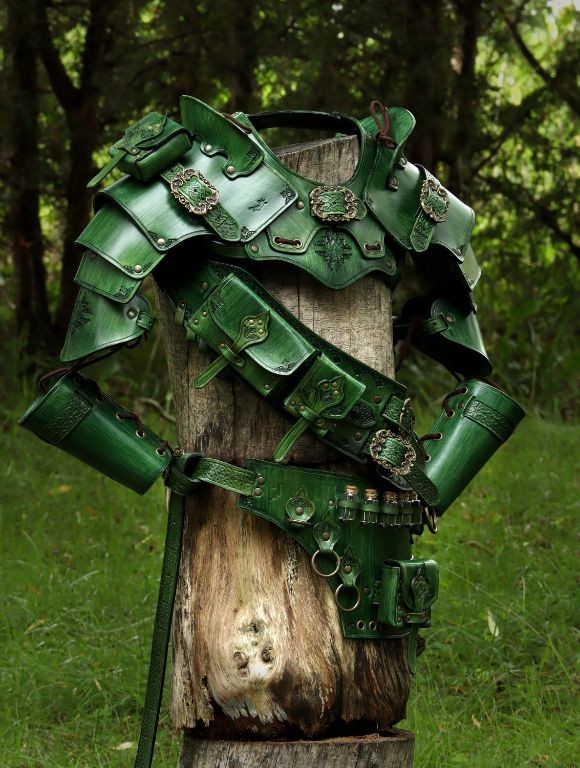
Transform yourself into the epitome of medieval majesty with this ancient art of crafting. This recipe yields one set of Green Leather Armor, perfect for any noble quest or battle.
Ingredients:
– 2 lbs high-quality leather (preferably green-tinted)
– 1/4 lb metallic dye (eco-friendly, naturally)
– 3 oz armor-grade thread
– 10 silver coins (for good luck)
– 1 dragon’s breath-scale (optional, but adds a certain je ne sais quoi)
Instructions:
1. Preheat your leather-working station to “medieval” temperature.
2. Dye the leather with metallic dye until it reaches a radiant green hue.
3. Cut out armor pieces according to ancient patterns and join them together using armor-grade thread.
4. Add a dash of dragon’s breath-scale for an extra layer of protection (if you’re feeling brave).
5. Embellish with silver coins, if desired.
Cooking Time: None needed! This recipe is a labor-of-love project that requires patience, skill, and a healthy dose of medieval flair.
Black Whelp Cloak
This enchanting dish is an otherworldly blend of rich flavors and textures, perfect for those seeking a culinary experience that transcends the mundane. With its dark, velvety cloak of darkness, this recipe will transport your taste buds to realms unknown.
Ingredients:
– 1 cup of Midnight Eclipse mushrooms
– 2 tablespoons of Shadowroot oil
– 1 tablespoon of Celestial dust
– 1/4 teaspoon of Starlight salt
– 1/2 cup of Moonlit cream
– 1/4 cup of Whispering Winds honey
Instructions:
1. Preheat your cooking vessel to a mystical temperature.
2. Sauté the mushrooms in Shadowroot oil until they release their secrets.
3. Add Celestial dust, Starlight salt, and Moonlit cream. Stir until the mixture thickens like a shroud.
4. Drizzle Whispering Winds honey over the concoction.
5. Serve immediately, allowing the essence of the Black Whelp Cloak to envelop your senses.
Cooking Time: 10 minutes
Gem-studded Leather Belt
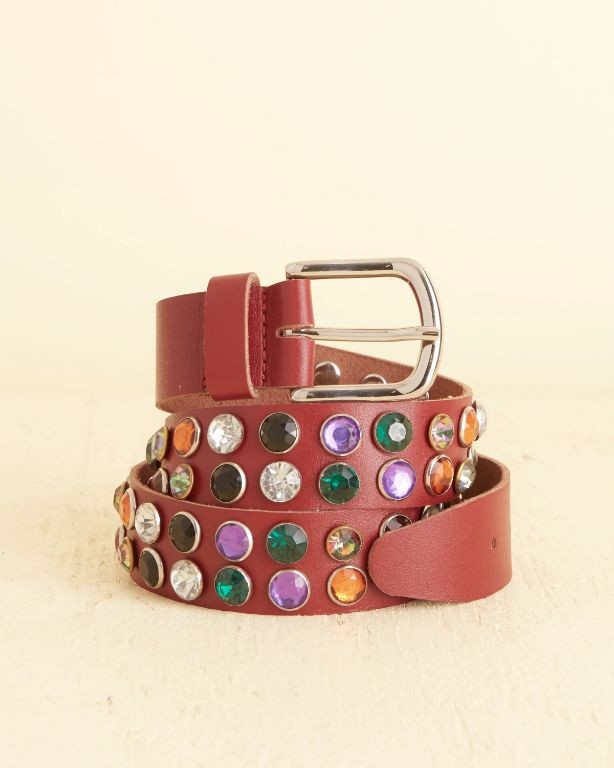
Create a dazzling accessory that’s as unique as a work of art with this step-by-step guide.
Ingredients:
– 1 leather belt (preferably sturdy)
– Gems or beads of your choice (we recommend at least 10-15)
– Strong adhesive (not the kind you use in cooking, though!)
– A dash of creativity
Instructions:
1. Prepare the leather belt by cleaning it with a soft cloth and mild soap.
2. Sort your gems or beads into different colors or shapes to create visual interest.
3. Apply a small amount of strong adhesive to the back of each gem or bead.
4. Carefully attach the gems or beads to the leather belt, spaced evenly apart for maximum sparkle.
5. Allow the adhesive to dry completely before handling the finished product.
Cooking Time: N/A (this recipe doesn’t require heat!)
Shadow Hood

A rich and savory twist on traditional hood pizza, this Shadow Hood recipe combines the bold flavors of beef, mushrooms, and cheese for a satisfying snack or meal.
Ingredients:
– 1 lb ground beef
– 1/2 cup finely chopped onion
– 2 cups mixed mushrooms (button, cremini, shiitake)
– 2 cloves garlic, minced
– 1 cup shredded mozzarella cheese
– 1/4 cup grated Parmesan cheese
– 1 tbsp olive oil
– Salt and pepper to taste
– 1 pre-made pizza crust or 12-14 in pizza dough
Instructions:
1. Preheat oven to 425°F (220°C).
2. Cook ground beef in a pan over medium-high heat until browned, breaking it up into small pieces as it cooks.
3. Add chopped onion and cook until translucent. Then add mushrooms and garlic; cook until mushrooms release their moisture and start to brown.
4. Roll out pizza crust or shape dough into a circle.
5. Spread cooked beef mixture evenly over crust, leaving a 1/2 inch border around edges.
6. Sprinkle mozzarella and Parmesan cheese over the top.
7. Bake for 15-20 minutes, or until crust is golden brown and cheese is melted and bubbly.
Cooking Time: 15-20 minutes
Summary
Start your leatherworking journey in World of Warcraft Classic with these essential recipes! From armor sets to accessories, this list covers the must-have items for any beginner. Try crafting Rugged Leather Pants, Fine Leather Gloves, and Embossed Leather Vest for a stylish boost. For defense, whip up Dark Leather Gloves, Barbaric Leggings, or Nightscape Boots. Don’t forget about utility items like Thick Leather Ammo Pouch and Handstitched Leather Cloak. With these 20 recipes, you’ll be well-equipped to take on the challenges of Azeroth.