Hello World
Desserts

Desserts
20 Creamy Vegan Potato Recipes Deliciously Simple
Get ready to indulge in a world of creamy, dreamy, and delightfully simple vegan potato dishes! As the saying goes,...
Desserts
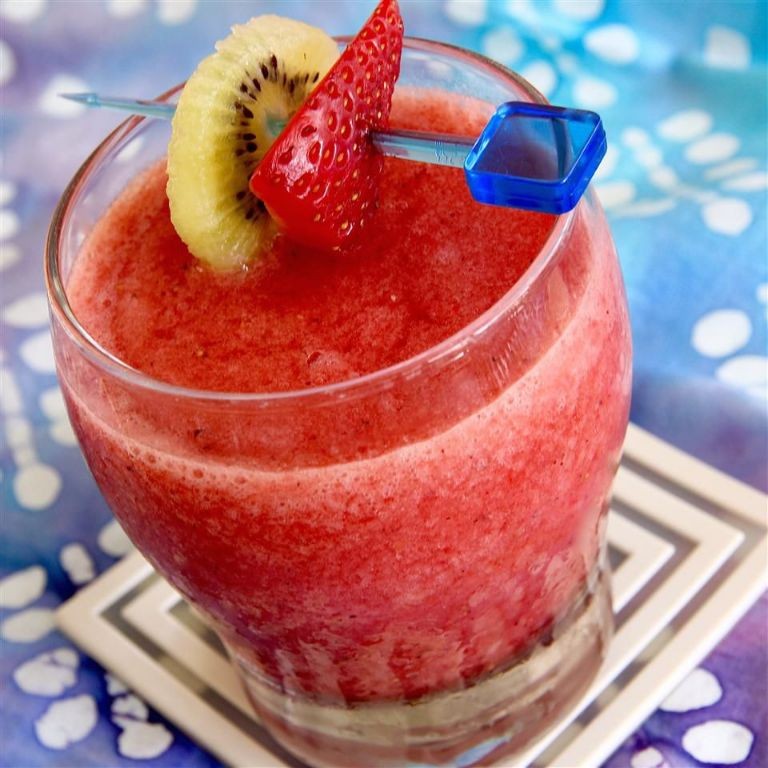
20 Delicious Frozen Strawberry Recipes for Summer
As summer approaches, the heat becomes more unbearable and our cravings for sweet treats only grow stronger. What’s a better...

Desserts
18 Decadent Licor 43 Chocolate Recipes You Must Try
Get ready to indulge your sweet tooth with these 18 decadent Licor 43 chocolate recipes that will satisfy your cravings...

Desserts
18 Vibrant Calendula Recipes for Healing and Flavor
When it comes to cooking, many of us tend to focus on the ingredients we can find at our local...
Desserts
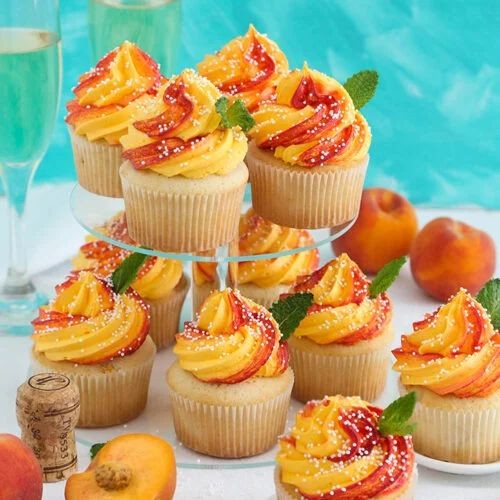
18 Elegant Wedding Cupcake Recipes Delicious
Wedding cupcakes have become a staple at many celebrations, and it’s easy to see why. Not only do they provide...
Desserts
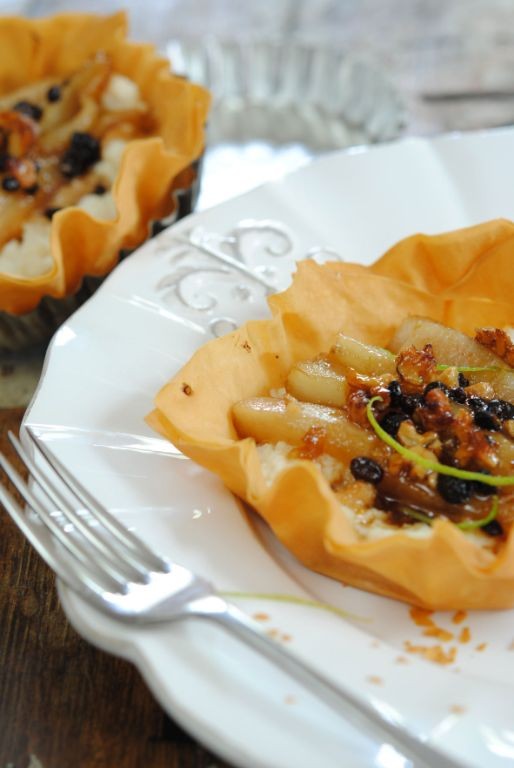
20 Decadent Ricotta Dessert Recipes Irresistible
Indulge in the creamy goodness of ricotta cheese with these 20 mouthwatering desserts that will satisfy your sweet tooth. From...
Desserts
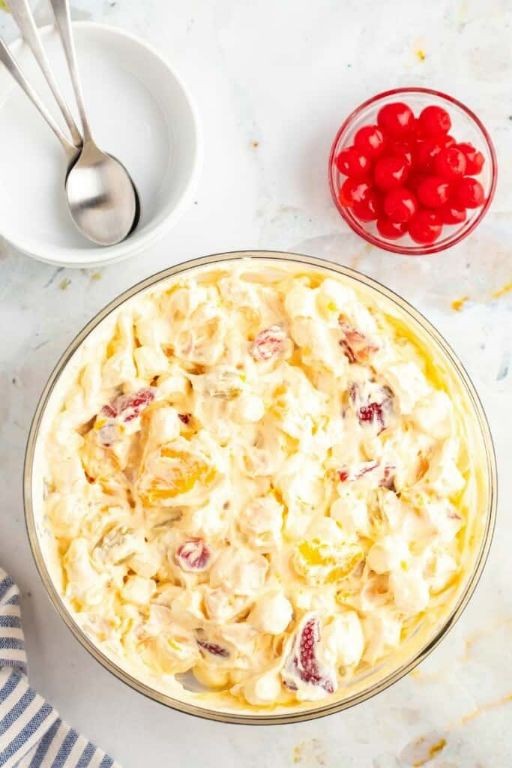
20 Refreshing Fruit Salad Recipes with Cool Whip Delights
Summer has officially arrived, and what better way to beat the heat than with a refreshing fruit salad? The perfect...

Desserts
20 Creamy Whipped Cream Recipes for Dessert Lovers
Dessert lovers, rejoice! There’s nothing quite like the thrill of topping a warm brownie or a slice of pie with...
Desserts
18 Delicious Allulose Recipes for Sugar-Free Delights
Are you tired of sacrificing flavor for a sugar-free lifestyle? Look no further! Allulose, a natural sweetener that’s 70% as...

Desserts
18 Creamy Kefir Cheese Recipes for Every Occasion
When it comes to adding a tangy and creamy twist to your meals, kefir cheese is the perfect ingredient. This...