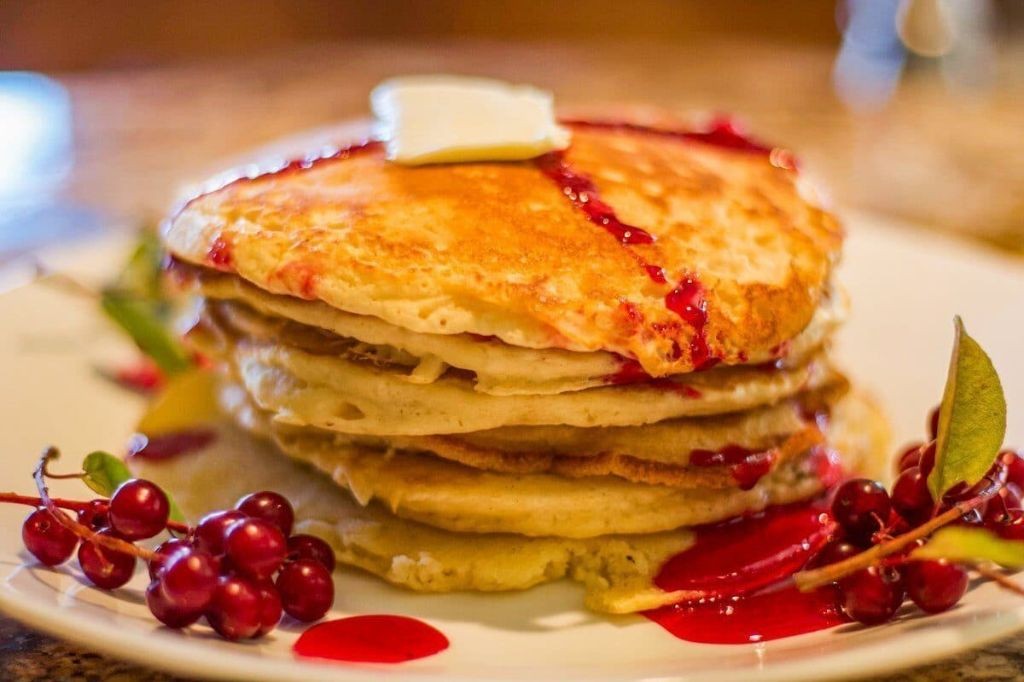
Are you tired of sacrificing flavor for a sugar-free lifestyle? Look no further! Allulose, a natural sweetener that’s 70% as sweet as sugar but doesn’t raise blood sugar levels, has taken the culinary world by storm. In this article, we’ll dive into the wonderful world of allulose recipes and explore 18 delicious treats that will satisfy your cravings without compromising on taste or health.
From classic desserts like cookies and cheesecake to indulgent snacks like fudge and caramel sauce, our collection of allulose recipes has something for everyone. Whether you’re a low-carb enthusiast, a keto aficionado, or simply looking for healthier alternatives to traditional sweets, we’ve got you covered.
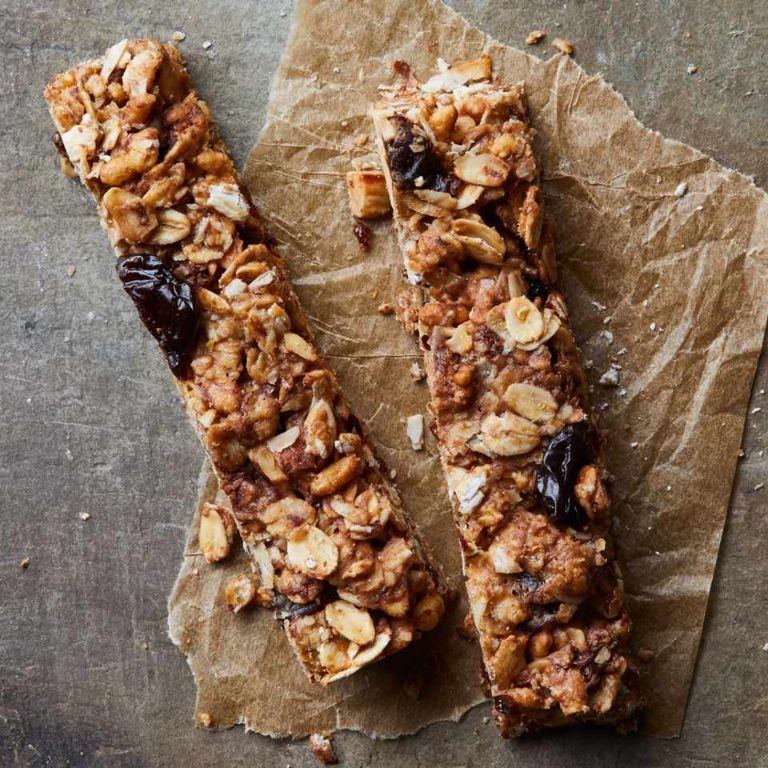
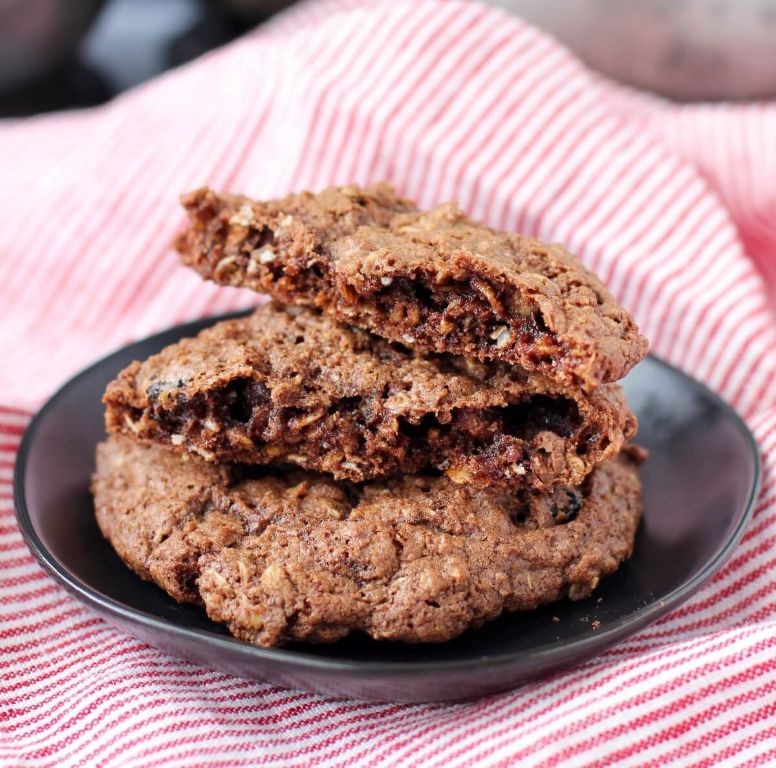
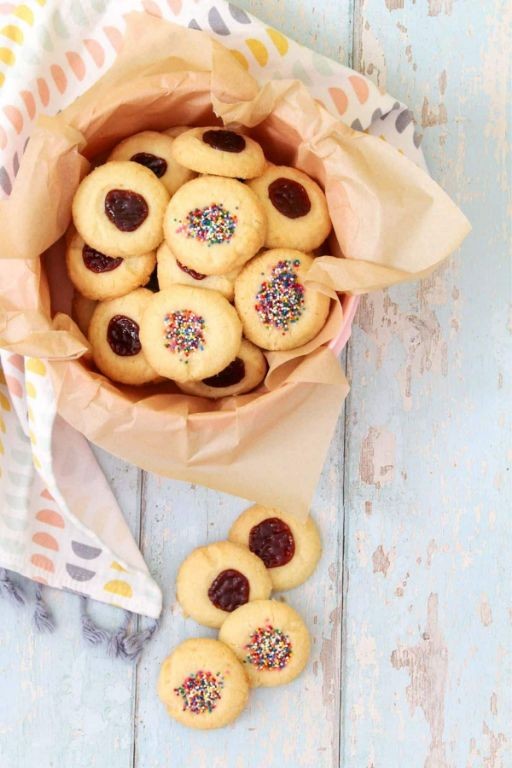
Allulose Chocolate Chip Cookies
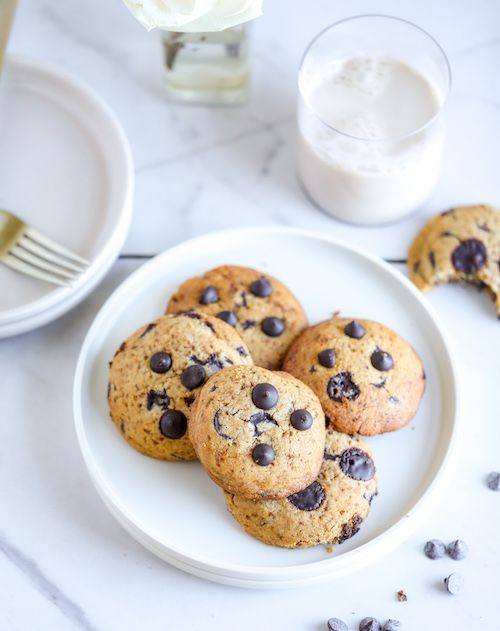
These chewy cookies use allulose, a low-calorie sugar substitute, to reduce the carbohydrate and calorie count without sacrificing flavor. Enjoy a sweet treat that’s perfect for snacking or sharing.
Ingredients:
– 1 cup unsalted butter, softened
– 1/2 cup granulated allulose
– 1 cup semi-sweet chocolate chips
– 2 large eggs
– 2 teaspoons vanilla extract
– 2 3/4 cups all-purpose flour
– 1 teaspoon baking soda
– 1/4 teaspoon salt
Instructions:
1. Preheat oven to 375°F (190°C). Line a baking sheet with parchment paper.
2. In a large bowl, cream together butter and allulose until light and fluffy.
3. Beat in eggs one at a time, followed by vanilla extract.
4. Gradually mix in flour, baking soda, and salt.
5. Stir in chocolate chips.
6. Drop rounded tablespoonfuls of dough onto the prepared baking sheet, leaving 2 inches between each cookie.
7. Bake for 10-12 minutes or until edges are lightly golden.
Cooking Time: 10-12 minutes
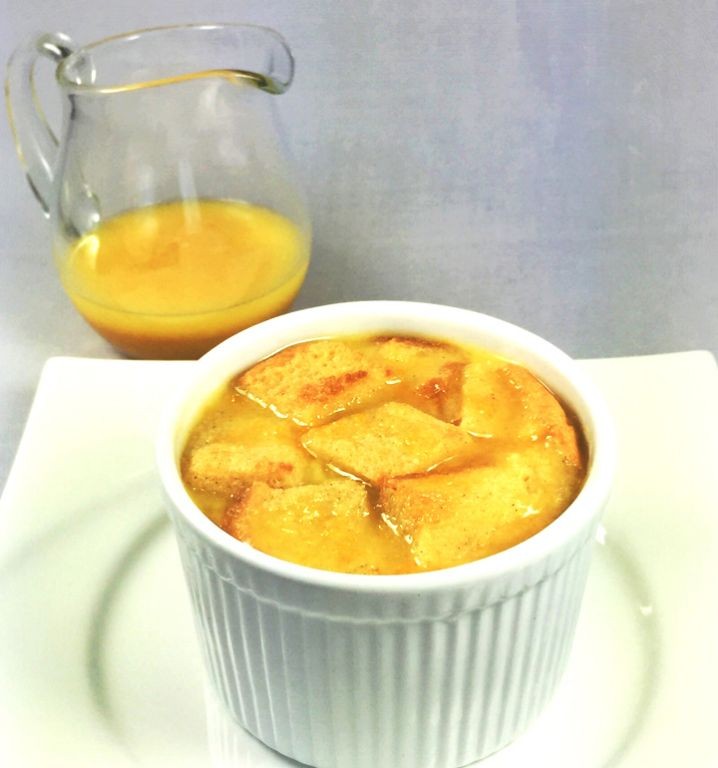
Allulose-Sweetened Lemon Bars
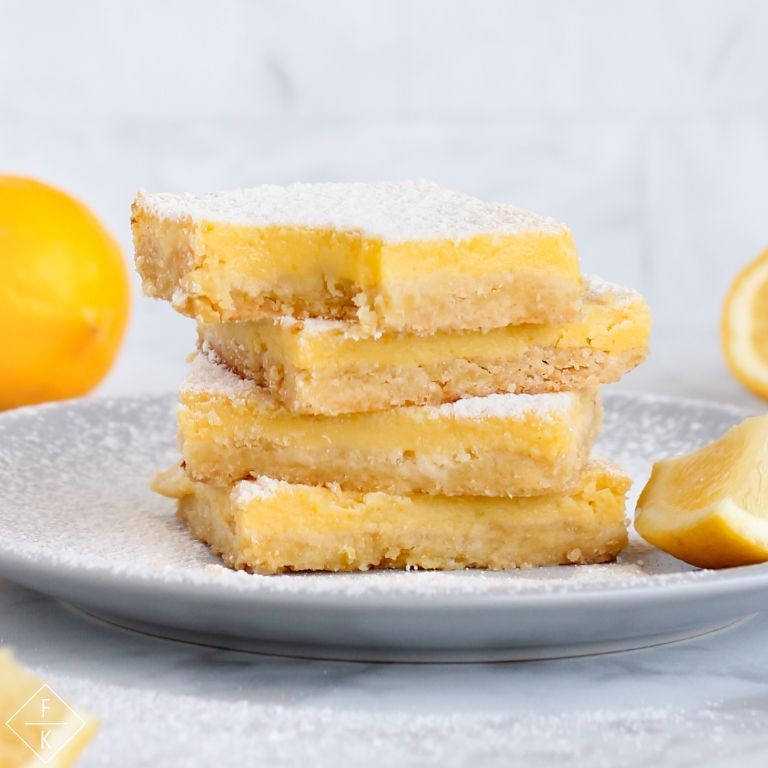
Add a touch of sweetness to your lemon bars with allulose, a low-calorie sugar substitute that provides the same sweetness as sugar without the calories. This recipe combines the brightness of lemon with the subtle sweetness of allulose, creating a unique and delicious dessert.
Ingredients:
– 1 1/2 cups all-purpose flour
– 1/4 cup granulated allulose
– 1/4 cup unsalted butter, melted
– 2 large eggs
– 2 teaspoons grated lemon zest
– 2 tablespoons freshly squeezed lemon juice
– 1/4 teaspoon salt
Instructions:
1. Preheat oven to 350°F (180°C). Line an 8-inch square baking dish with parchment paper.
2. In a medium bowl, whisk together flour and allulose. Add melted butter, eggs, lemon zest, lemon juice, and salt. Mix until smooth.
3. Press the mixture into the prepared baking dish.
4. Bake for 20-25 minutes or until the edges are lightly golden brown.
5. Allow the bars to cool completely before cutting into squares and serving.
Cooking Time: 20-25 minutes
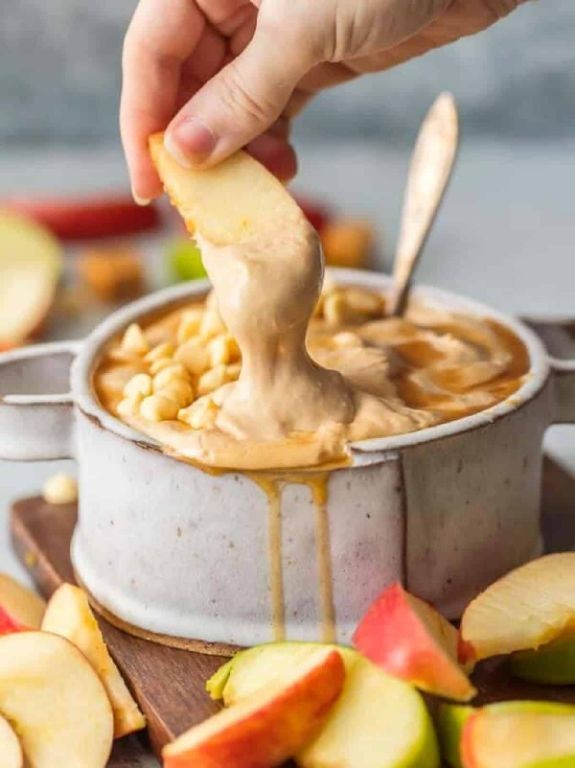
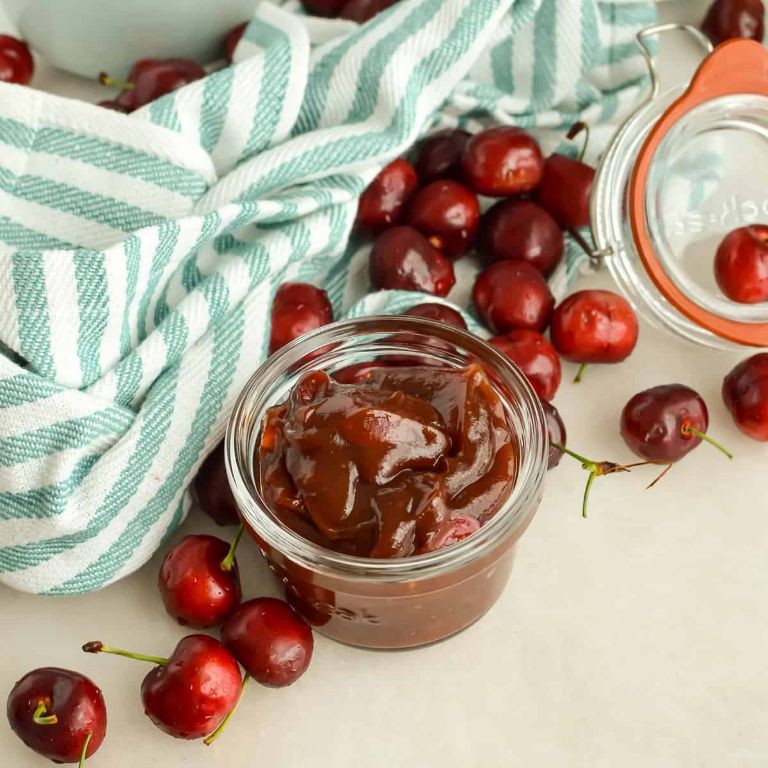
Keto Allulose Caramel Sauce
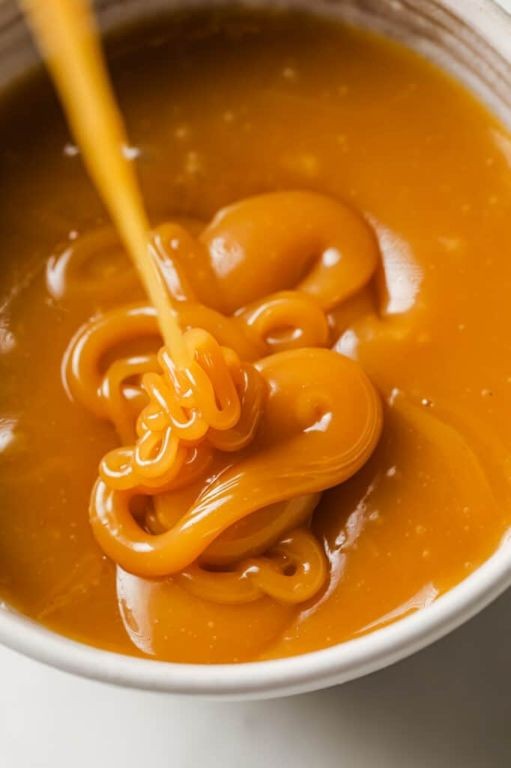
A sweet and rich caramel sauce made with allulose, perfect for topping keto-friendly desserts or using as a dip.
Ingredients:
– 1 cup (200g) granulated sweetener (allulose)
– 1/2 cup (120ml) heavy cream
– 1 tablespoon unsalted butter
– 1 teaspoon vanilla extract
Instructions:
1. In a medium saucepan, combine the allulose and heavy cream.
2. Cook over medium heat, stirring occasionally, until the mixture reaches 350°F (175°C), or the soft-ball stage on a candy thermometer.
3. Remove from heat and whisk in the butter and vanilla extract until melted and smooth.
4. Let cool slightly before transferring to an airtight container.
5. Store at room temperature for up to 2 weeks.
Cooking Time: Approximately 10-12 minutes
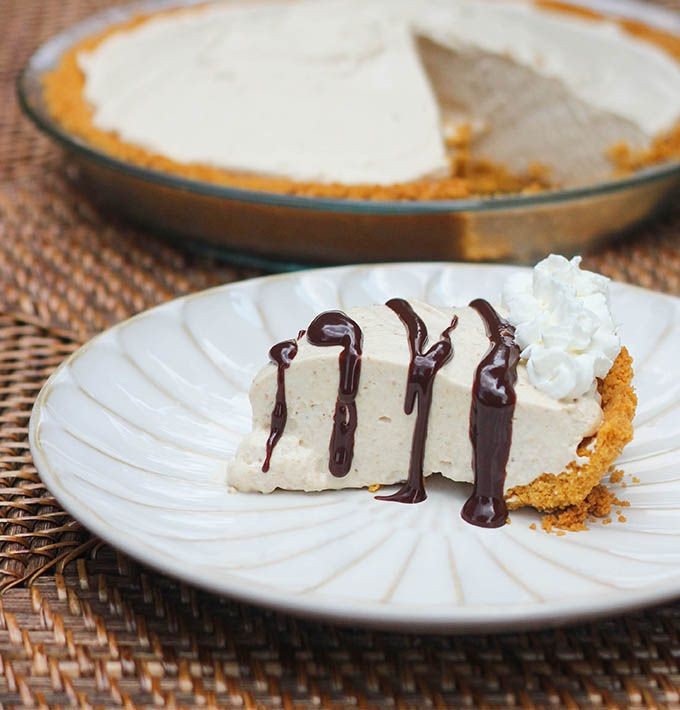
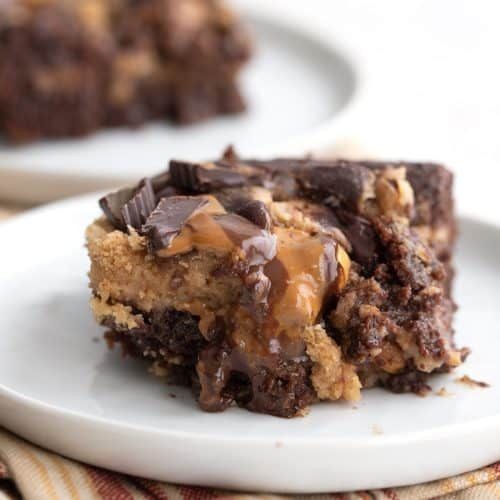
Allulose Peanut Butter Fudge
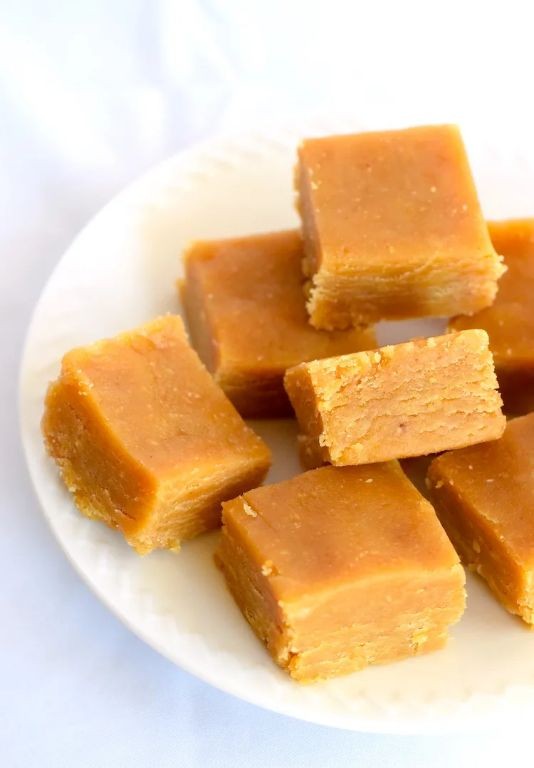
Sweeten your snack time with this creamy and indulgent fudge recipe, featuring the unique taste of allulose and the classic combination of peanut butter.
Ingredients:
– 1 cup (200g) granulated sugar
– 1/2 cup (120g) light corn syrup
– 1/4 cup (60g) allulose
– 1/2 cup (120g) creamy peanut butter
– 1 teaspoon vanilla extract
– 1/4 teaspoon salt
– 12 ounces (340g) semisweet chocolate chips
– 1 tablespoon unsalted butter
Instructions:
1. Line an 8-inch square baking dish with parchment paper.
2. Combine sugar, corn syrup, and allulose in a medium saucepan. Cook over medium heat, stirring occasionally, until the mixture reaches 235°F (118°C).
3. Remove from heat and stir in peanut butter, vanilla extract, and salt until smooth.
4. Melt chocolate chips in a double boiler or microwave-safe bowl. Stir until smooth.
5. Pour melted chocolate into the fudge mixture and stir until combined.
6. Pour into prepared baking dish and refrigerate for at least 2 hours or until firm.
7. Cut into squares and serve.
Cooking Time: 10-12 minutes
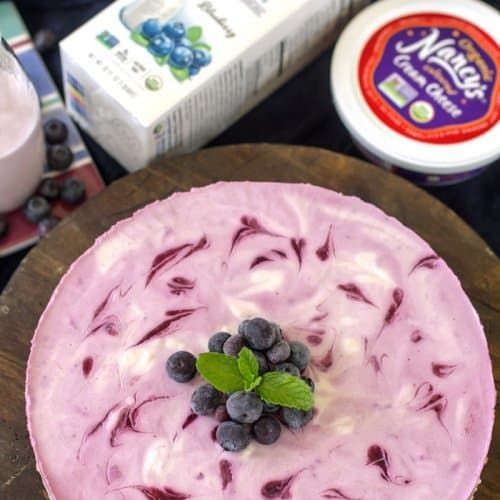
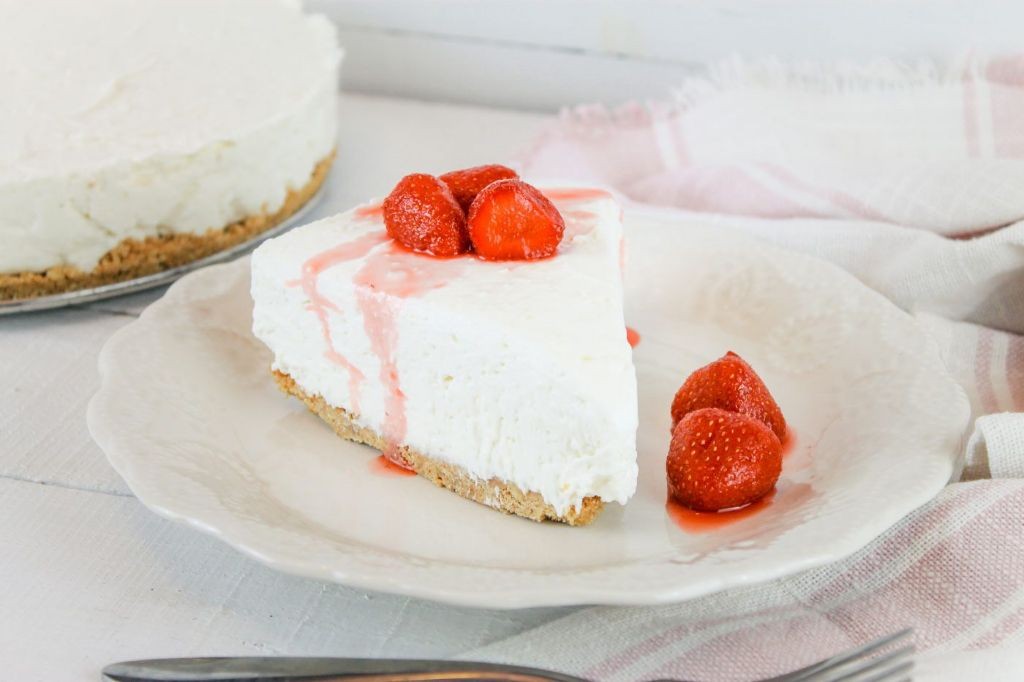
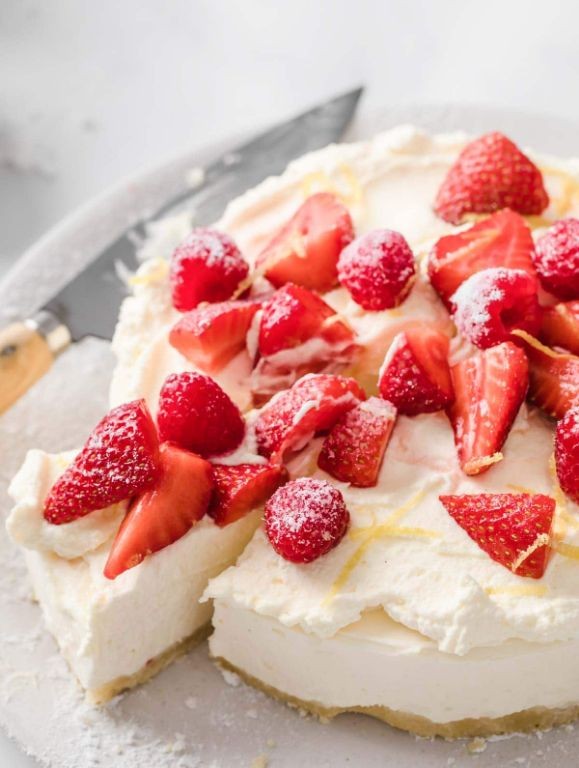
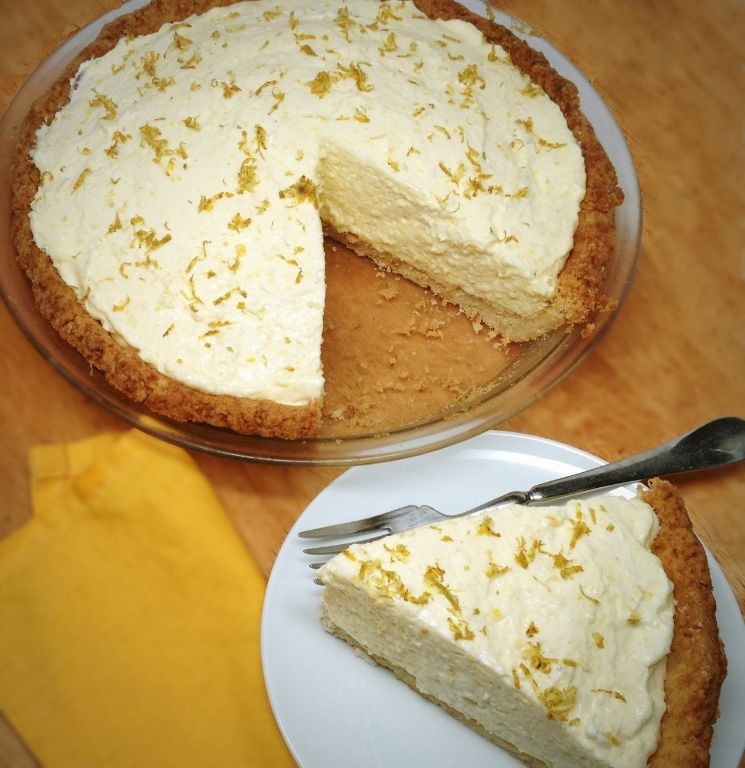
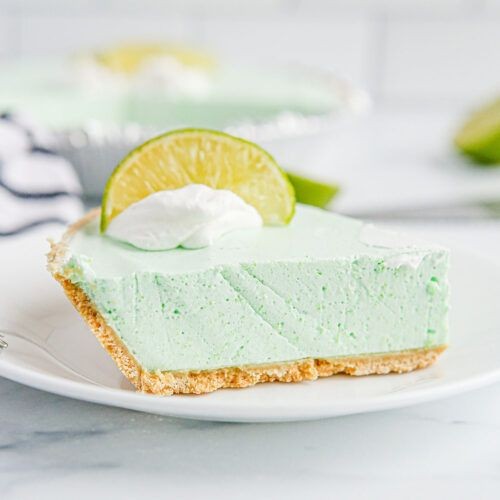
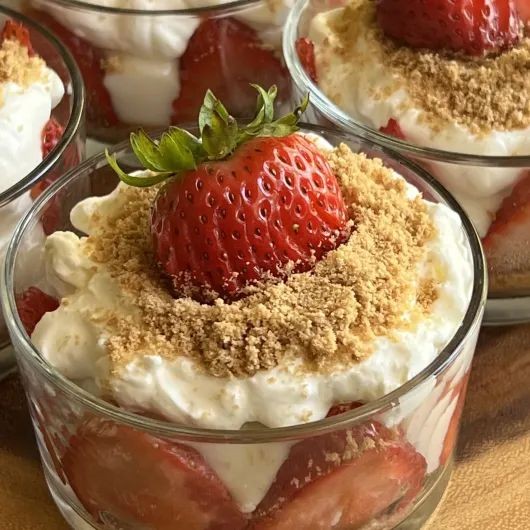
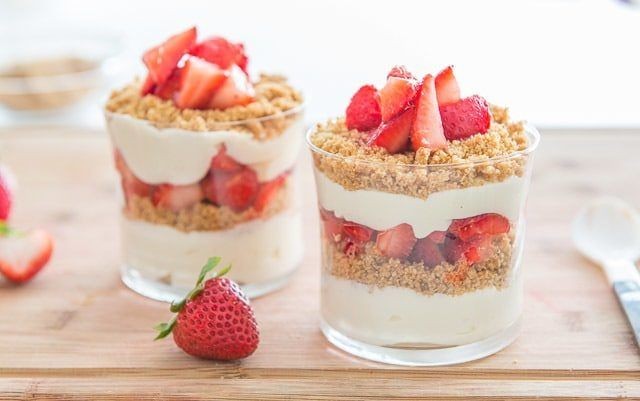
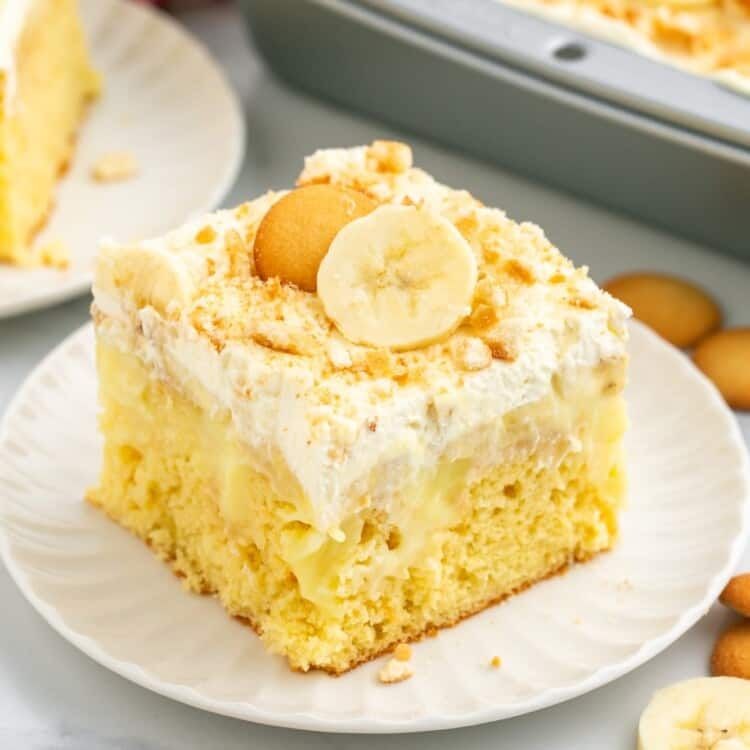
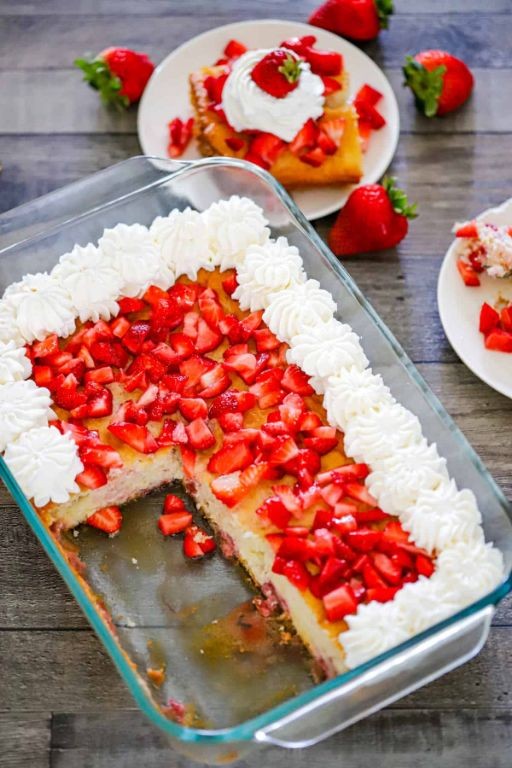
Low-Carb Allulose Cheesecake

This creamy cheesecake is a game-changer for those watching their carb intake, featuring allulose as a natural sweetener. With a short ingredient list and simple preparation, you’ll be enjoying this delicious dessert in no time!
Ingredients:
– 1 1/2 cups almond flour
– 1/4 cup granulated sweetener (such as Swerve or Erythritol)
– 1/2 cup allulose
– 16 oz cream cheese, softened
– 3 large eggs
– 1 tsp vanilla extract
Instructions:
1. Preheat oven to 325°F (165°C).
2. In a medium bowl, mix almond flour and granulated sweetener.
3. In a separate bowl, combine allulose, cream cheese, eggs, and vanilla extract. Beat until smooth.
4. Add the dry ingredients to the wet ingredients and mix until combined.
5. Pour into a 9-inch springform pan lined with parchment paper.
6. Bake for 45-50 minutes or until edges are set and center is slightly jiggly.
Cooking Time: 45-50 minutes
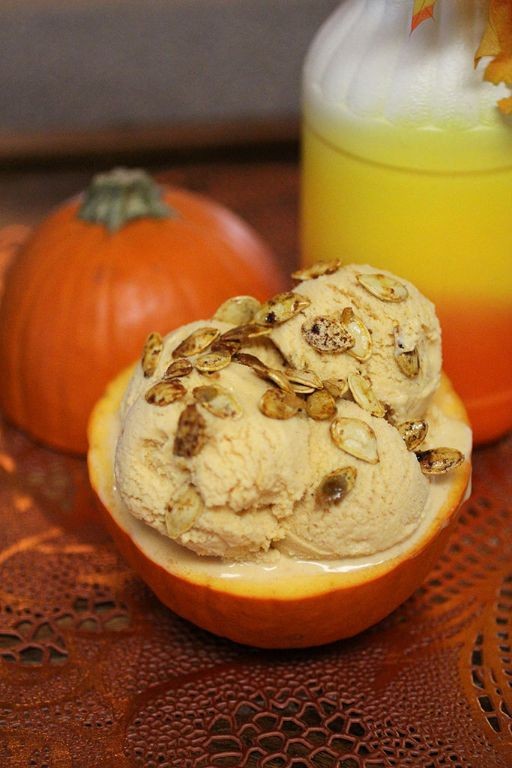
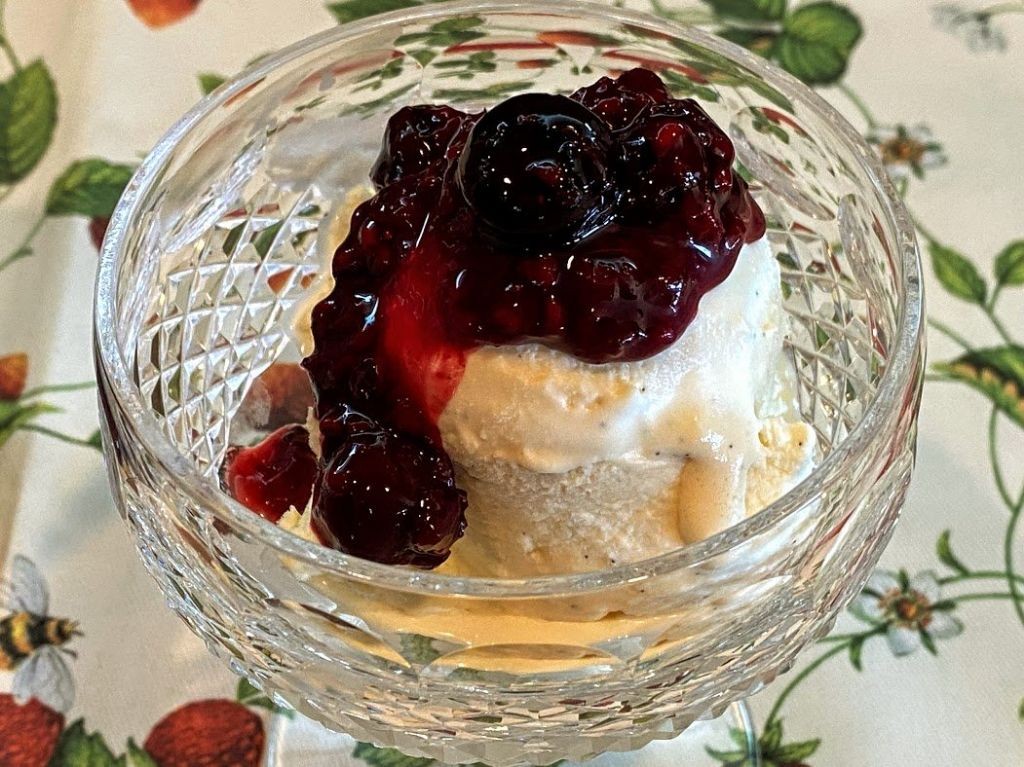
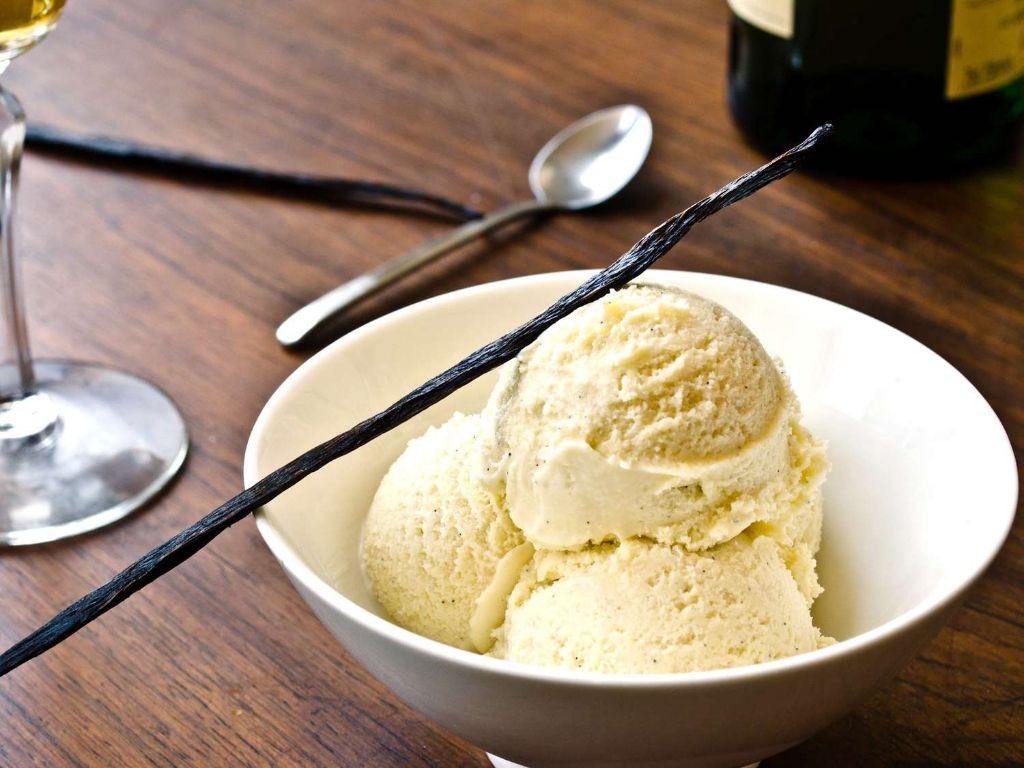
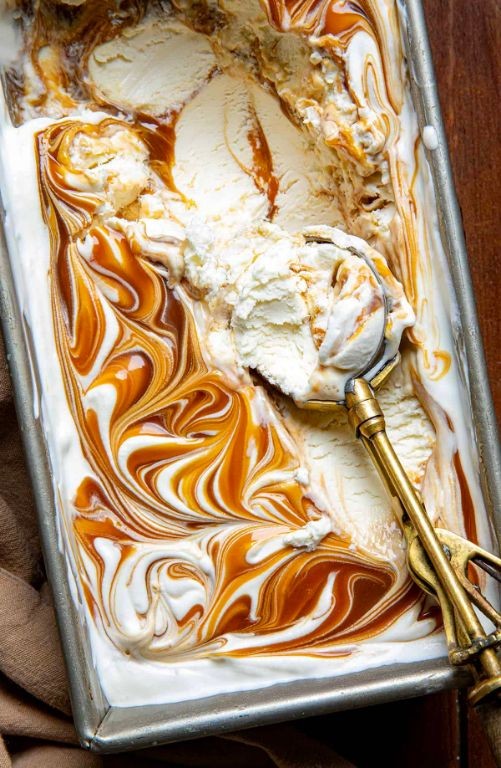
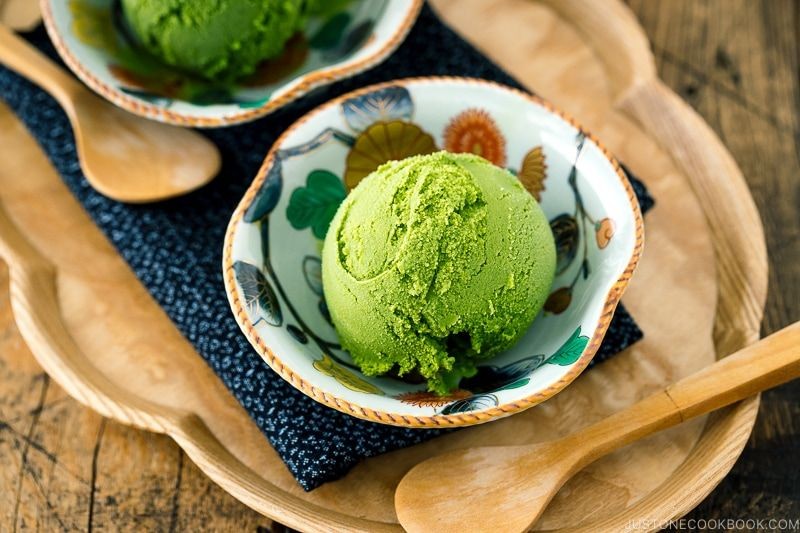
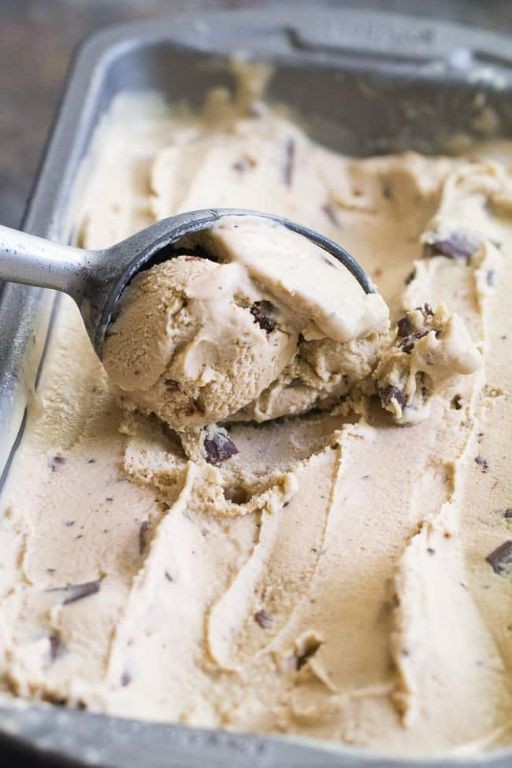
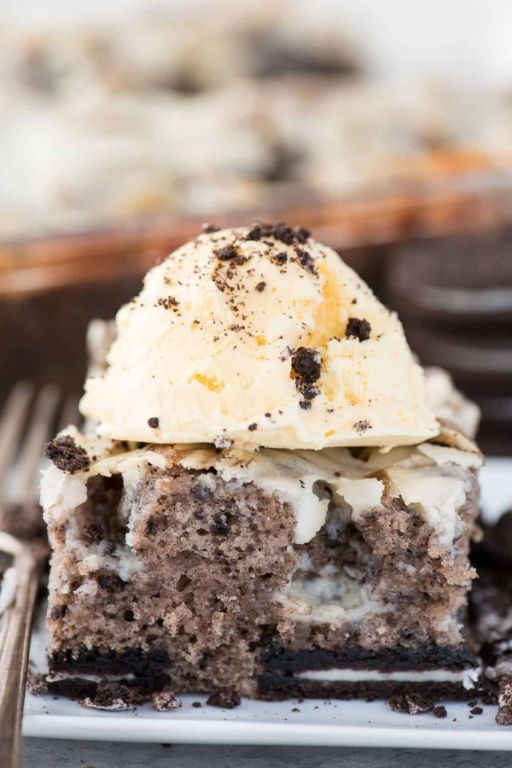
Allulose Vanilla Ice Cream
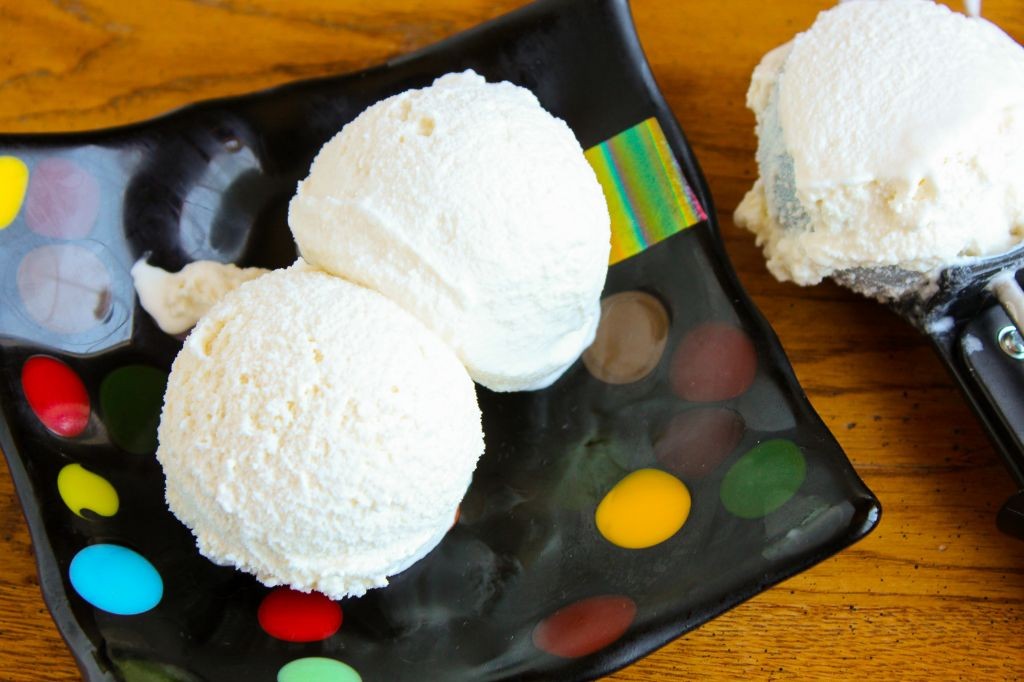
Enjoy a guilt-free indulgence with this creamy and delicious allulose vanilla ice cream recipe.
Ingredients:
– 1 cup heavy whipping cream
– 1/2 cup whole milk
– 1/4 cup granulated sweetener (Allulose)
– 1 tsp pure vanilla extract
Instructions:
1. In a medium-sized bowl, whisk together the heavy whipping cream and whole milk until smooth.
2. Add the Allulose granulated sweetener and whisk until fully dissolved.
3. Stir in the pure vanilla extract.
4. Pour the mixture into an ice cream maker and churn according to manufacturer’s instructions.
5. Once churned, transfer the ice cream to an airtight container and place it in the freezer to harden for at least 2 hours.
Cooking Time:
– Churning time: 20-25 minutes
– Freezing time: 2 hours
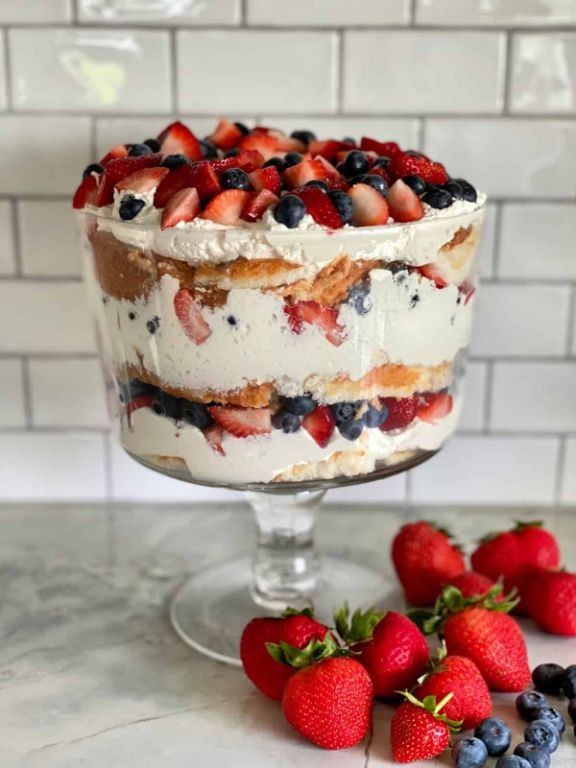
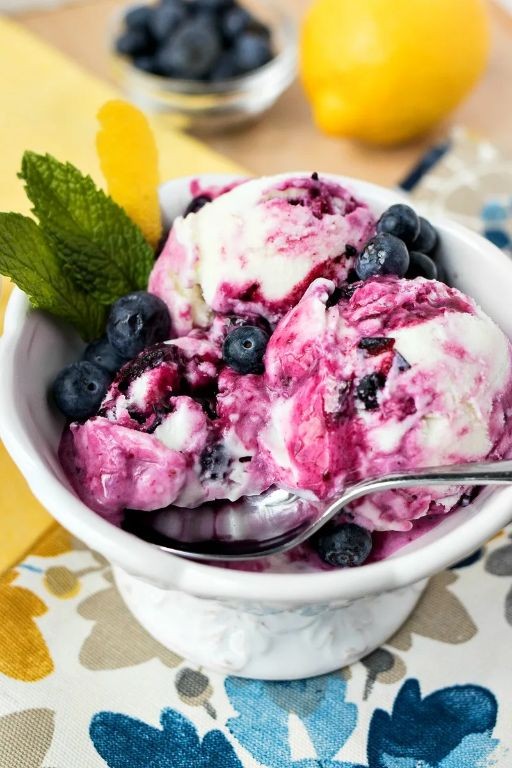
Allulose Blueberry Muffins
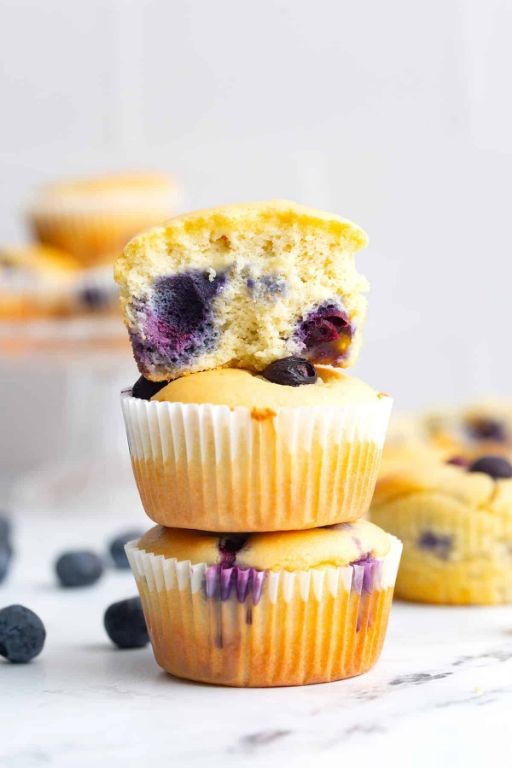
This recipe combines the natural sweetness of allulose with the juiciness of blueberries, resulting in a delicious and unique muffin experience. Perfect for breakfast or a snack, these muffins are sure to please even the most discerning palates.
Ingredients:
– 1 1/2 cups all-purpose flour
– 1 cup granulated allulose (or equivalent sweetener)
– 2 teaspoons baking powder
– 1/4 teaspoon salt
– 1/2 cup unsalted butter, melted
– 1 large egg
– 1 cup fresh or frozen blueberries
– 1 teaspoon vanilla extract
Instructions:
1. Preheat oven to 375°F (190°C). Line a 12-cup muffin tin with paper liners.
2. In a medium bowl, whisk together flour, allulose, baking powder, and salt.
3. In a large bowl, combine melted butter, egg, and vanilla extract. Stir in the dry ingredients until just combined.
4. Gently fold in blueberries.
5. Divide batter evenly among muffin cups.
6. Bake for 20-22 minutes or until golden brown.
Cooking Time: 20-22 minutes
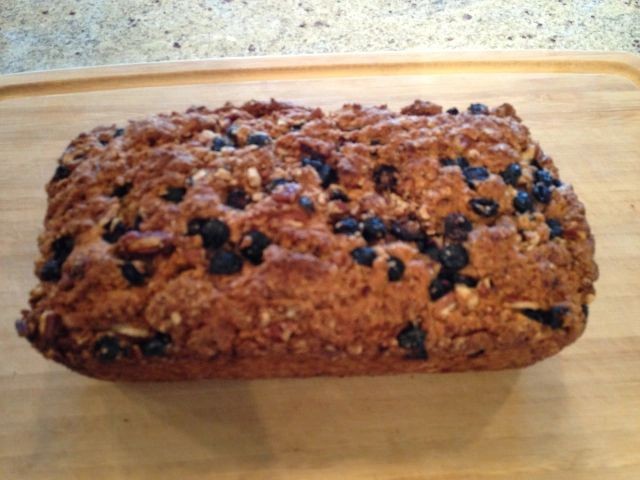
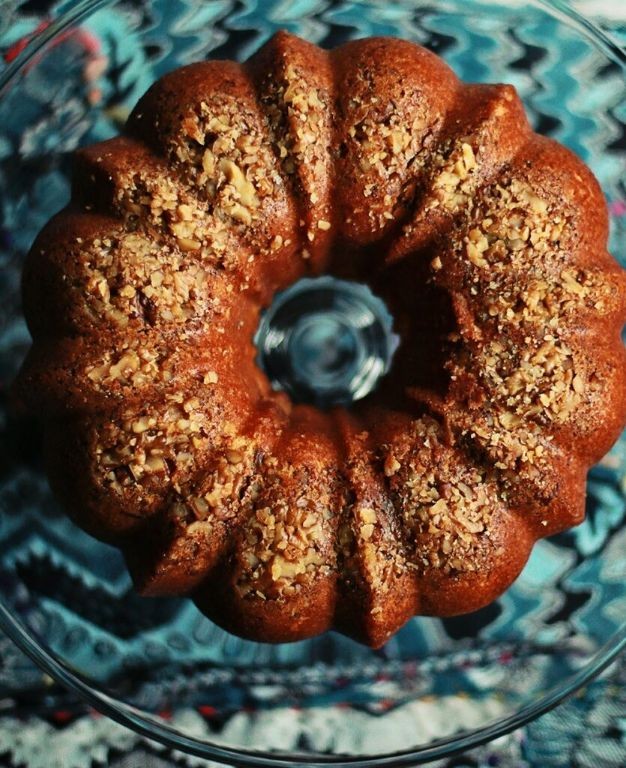
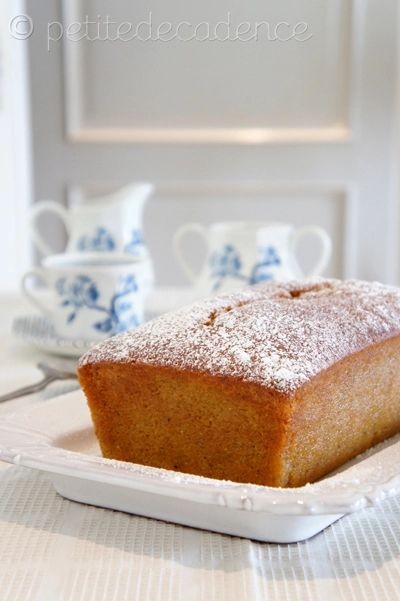
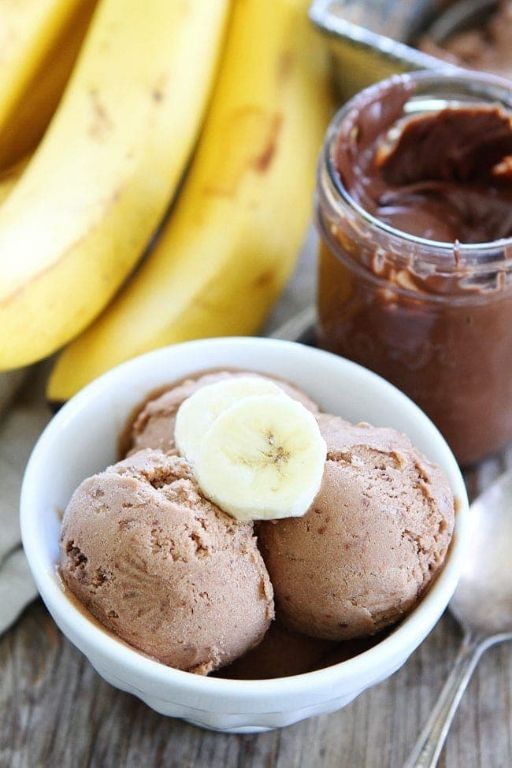
Allulose-Sweetened Banana Bread
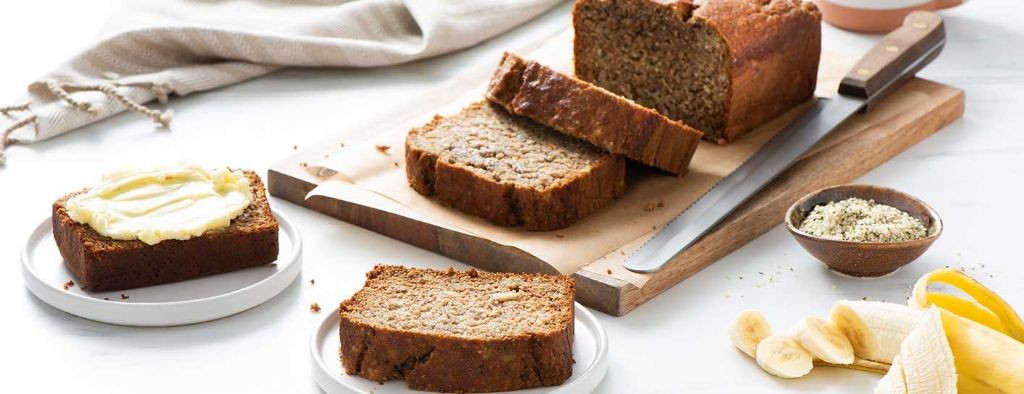
This Allulose-Sweetened Banana Bread is a delicious and healthier alternative to traditional banana bread. With the natural sweetness of bananas, the subtle sweetness of Allulose, and the warmth of spices, this bread is perfect for breakfast or as a snack.
Ingredients:
– 3 large ripe bananas, mashed
– 1/2 cup (100g) all-purpose flour
– 1/4 cup (50g) sugar-free baking mix
– 1/2 teaspoon salt
– 1/2 teaspoon ground cinnamon
– 1/4 teaspoon ground nutmeg
– 1/4 cup (60ml) unsalted butter, melted
– 1 large egg
– 1 tablespoon Allulose sweetener
– Optional: chopped walnuts or pecans for added crunch
Instructions:
1. Preheat oven to 350°F (180°C). Grease a 9×5-inch loaf pan.
2. In a medium bowl, whisk together flour, sugar-free baking mix, salt, cinnamon, and nutmeg.
3. Add mashed bananas, melted butter, egg, and Allulose sweetener to the dry ingredients. Mix until combined.
4. Pour batter into prepared loaf pan and smooth top.
5. Bake for 45-50 minutes or until a toothpick inserted comes out clean.
6. Let cool in pan for 10 minutes before transferring to a wire rack.
Cooking Time: 45-50 minutes
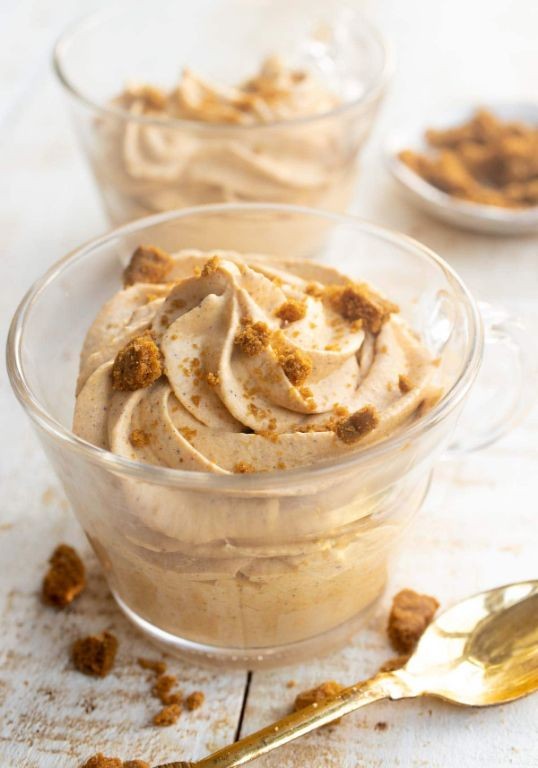
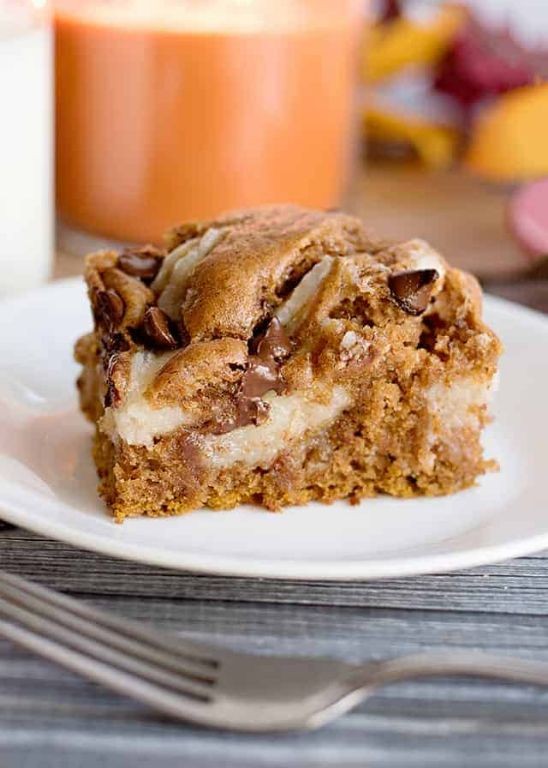
Allulose Pumpkin Spice Latte
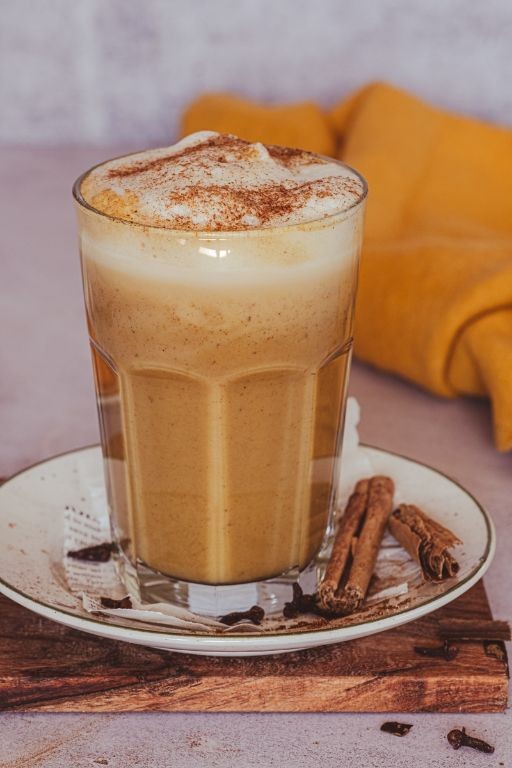
This autumnal drink combines the warmth of pumpkin spice with the natural sweetness of allulose, making it a perfect treat for crisp fall days.
Ingredients:
– 1 cup strong brewed coffee
– 1/2 cup milk (dairy or non-dairy)
– 1 tablespoon allulose
– 1 teaspoon pumpkin puree
– 1/4 teaspoon ground cinnamon
– 1/4 teaspoon ground nutmeg
– 1/4 teaspoon ground ginger
– Whipped cream and pumpkin pie spice for topping (optional)
Instructions:
1. Brew a cup of strong coffee and set it aside.
2. In a small saucepan, heat the milk over medium heat until steaming hot.
3. Add the allulose, pumpkin puree, cinnamon, nutmeg, and ginger to the milk. Whisk until the allulose is dissolved.
4. Pour the spiced milk into the brewed coffee.
5. Stir well to combine.
6. Taste and adjust sweetness or spice level as needed.
7. Top with whipped cream and a sprinkle of pumpkin pie spice, if desired.
Cooking Time: 10 minutes
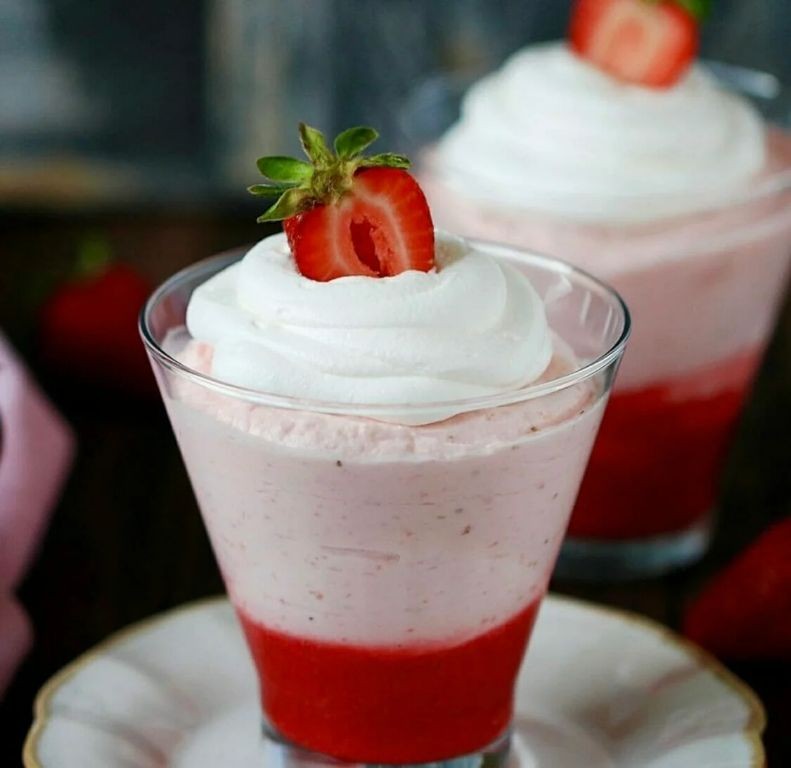
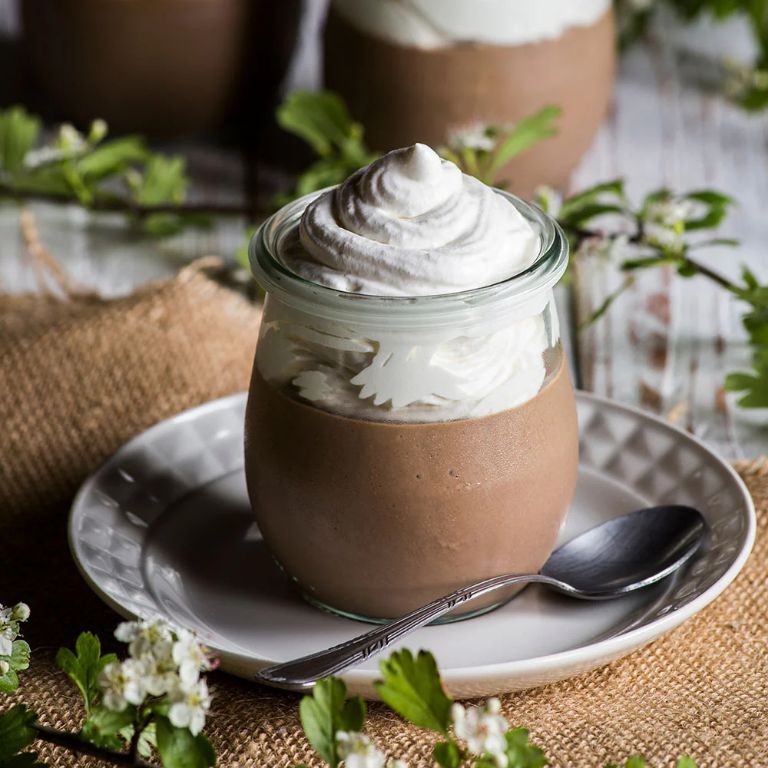
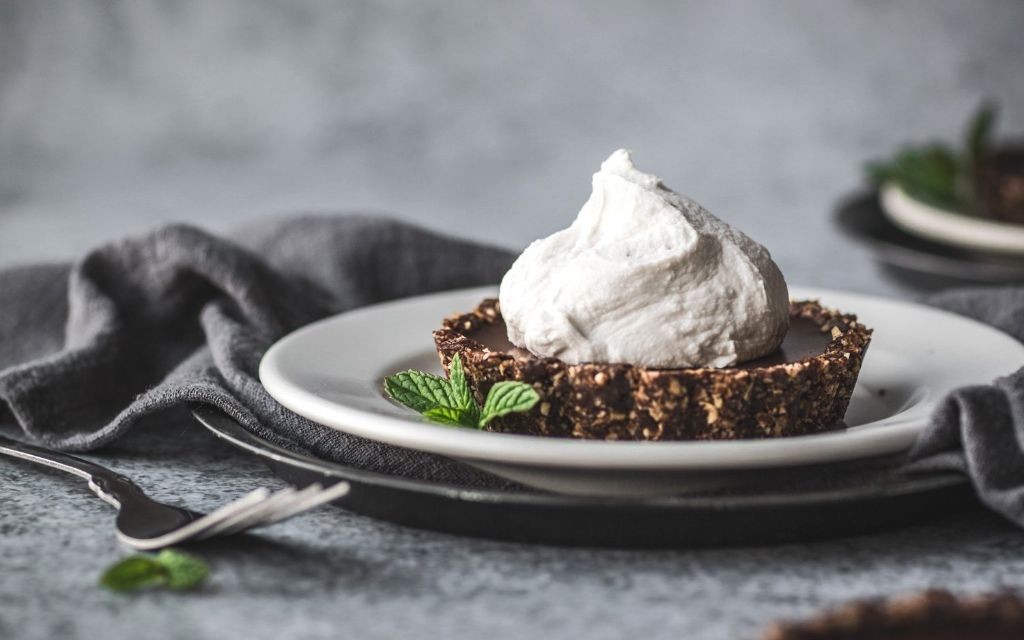
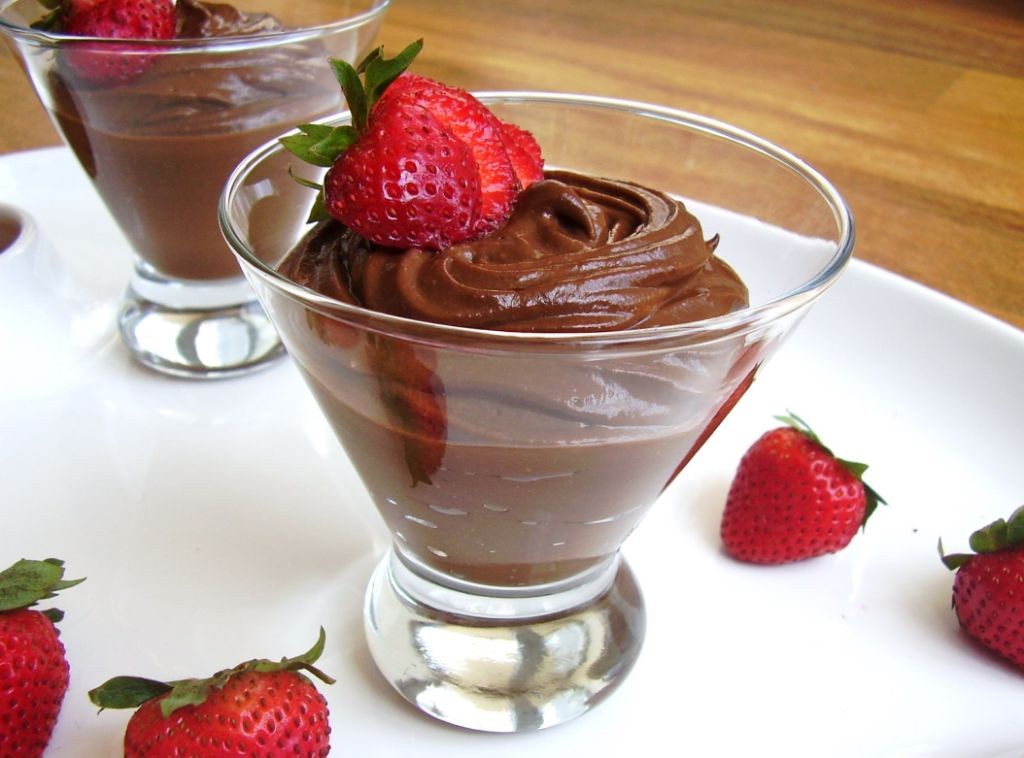
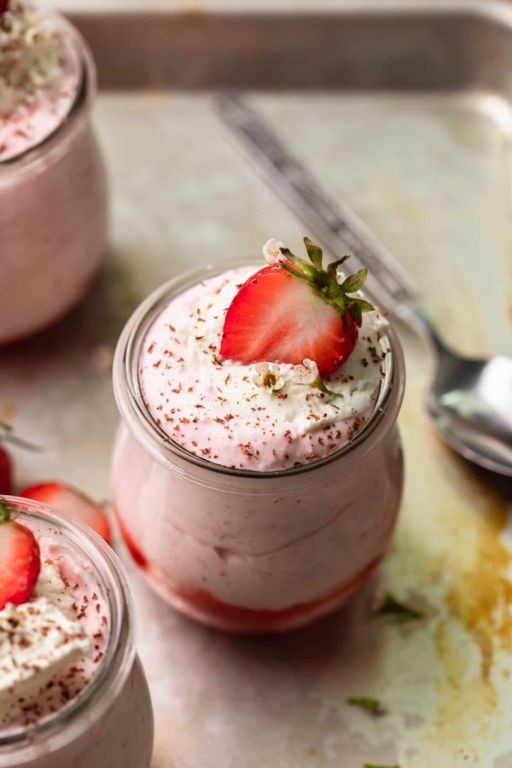
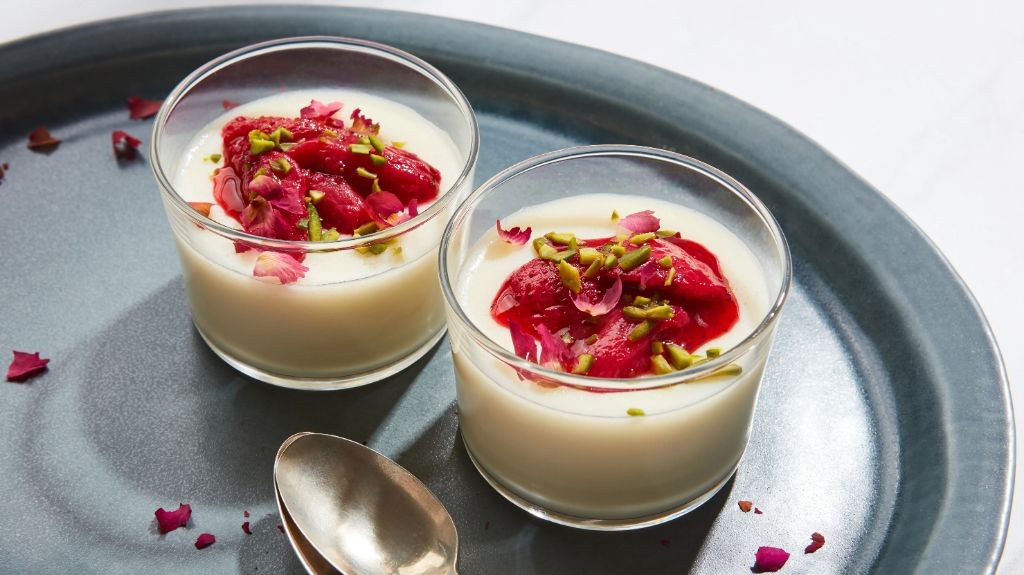
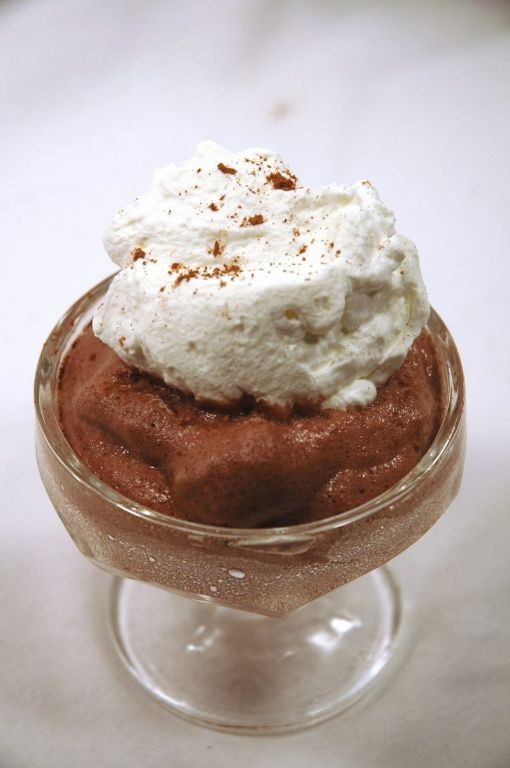
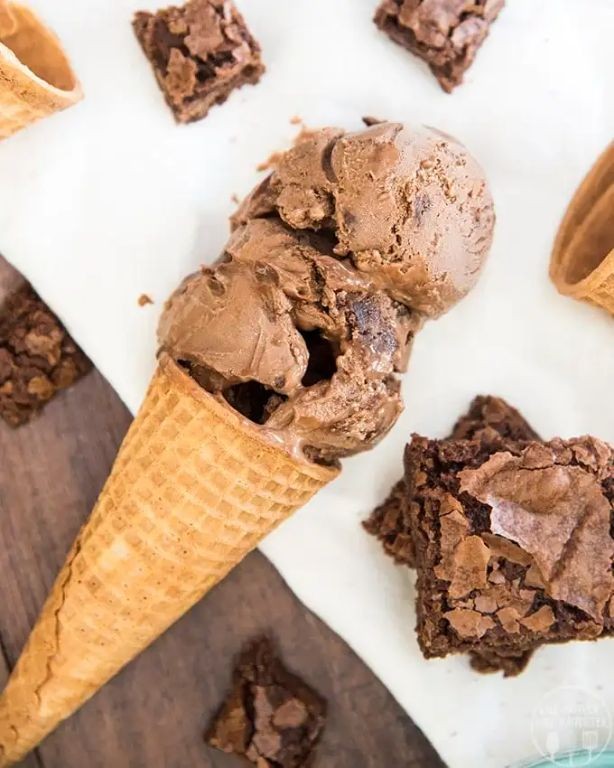
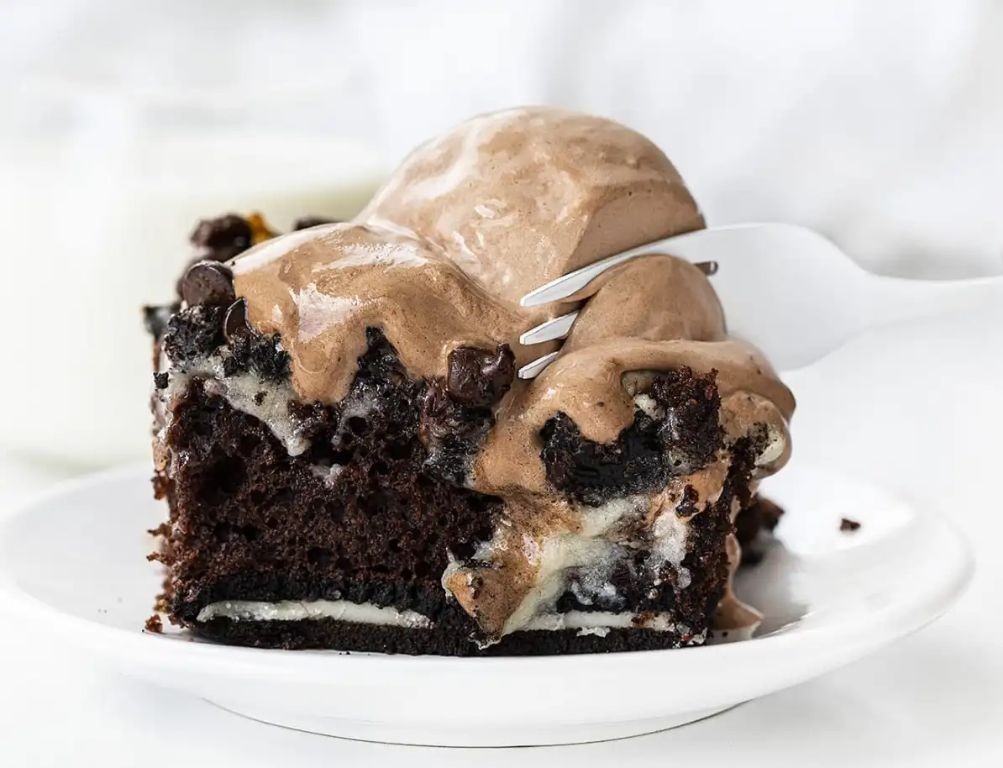
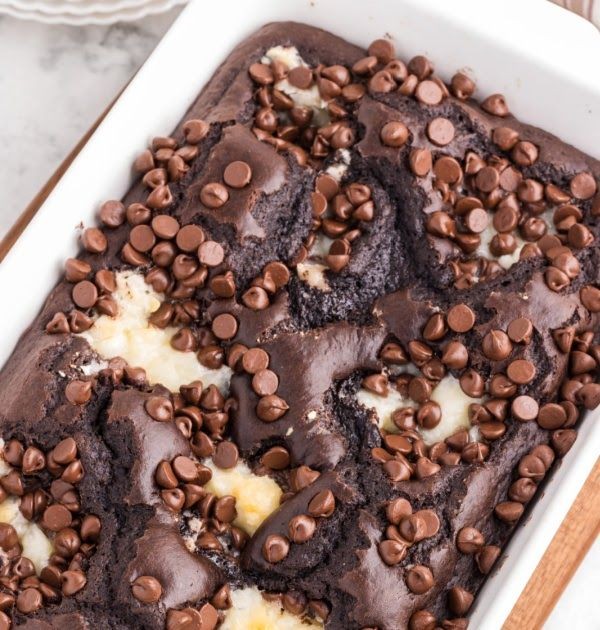
Allulose Chocolate Mousse
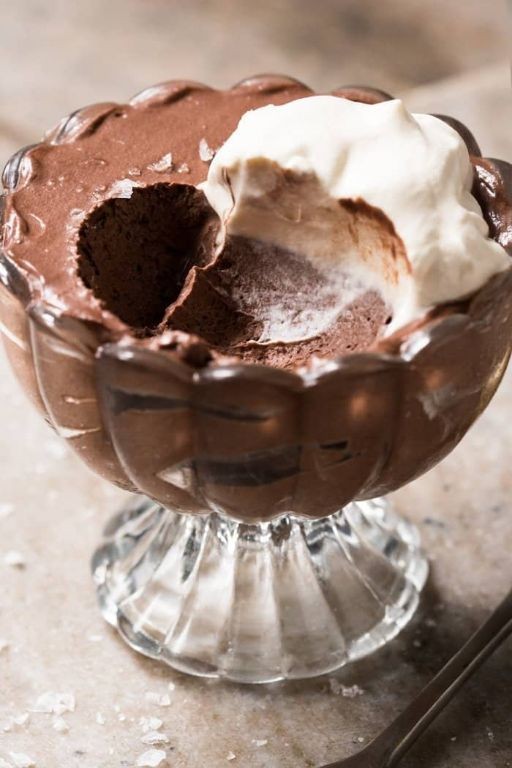
This rich and creamy dessert is a perfect way to end any meal, with its velvety texture and deep chocolate flavor.
Ingredients:
• 8 oz (225g) high-quality dark chocolate chips (at least 70% cocoa)
• 1 cup (200ml) heavy cream
• 2 tablespoons Allulose granulated sweetener
• 1 teaspoon vanilla extract
Instructions:
1. In a double boiler or a heatproof bowl set over a pot of simmering water, melt the chocolate chips.
2. Remove from heat and let cool slightly.
3. In a separate bowl, whip the heavy cream until soft peaks form.
4. Add the Allulose sweetener and vanilla extract to the whipped cream and whip until stiff peaks form.
5. Fold the whipped cream mixture into the cooled melted chocolate until well combined.
6. Spoon the mousse into individual serving cups or a large serving dish.
7. Chill in the refrigerator for at least 2 hours before serving.
Cooking Time: None
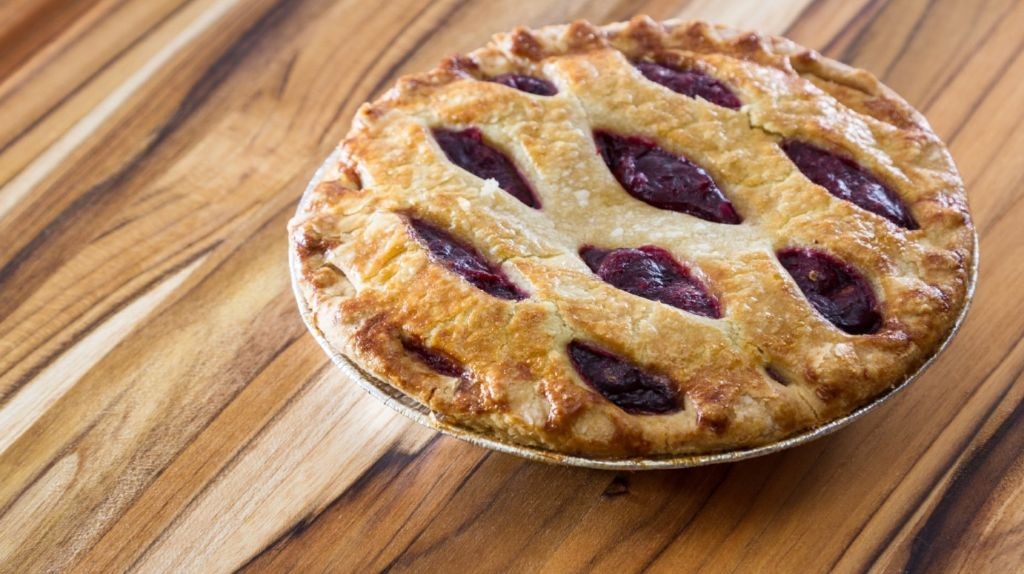
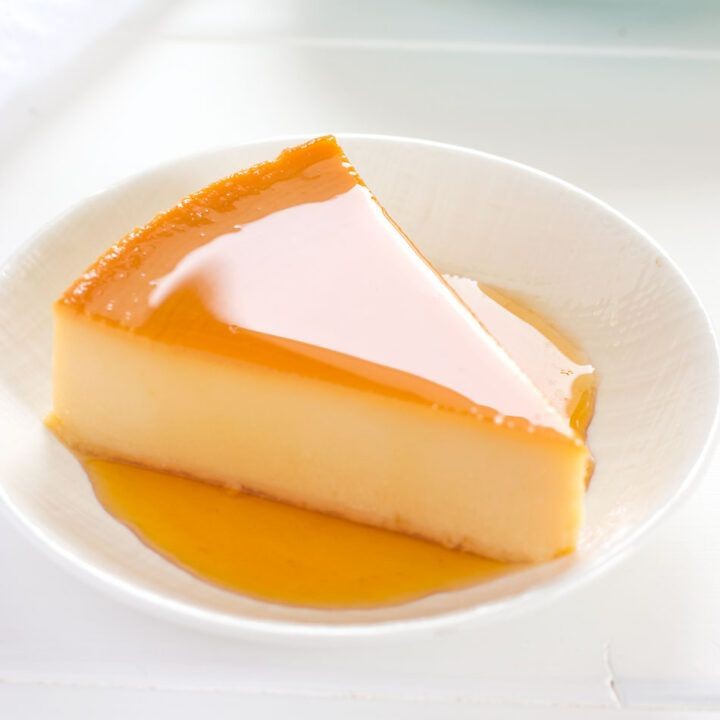
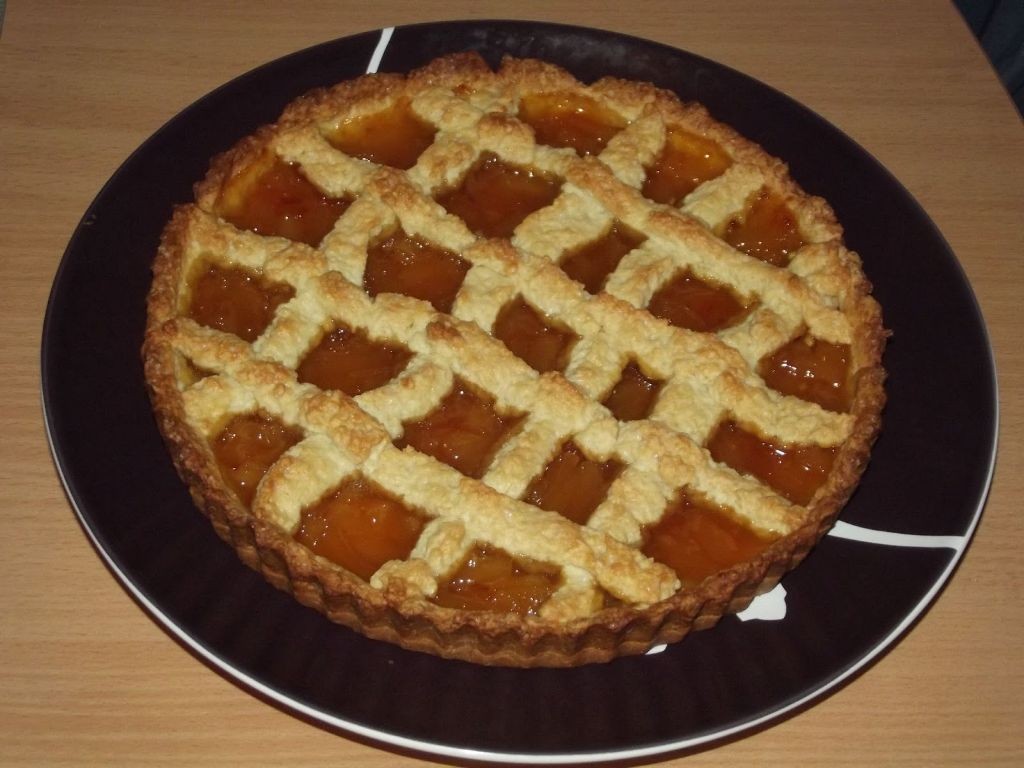
Allulose Pecan Pie
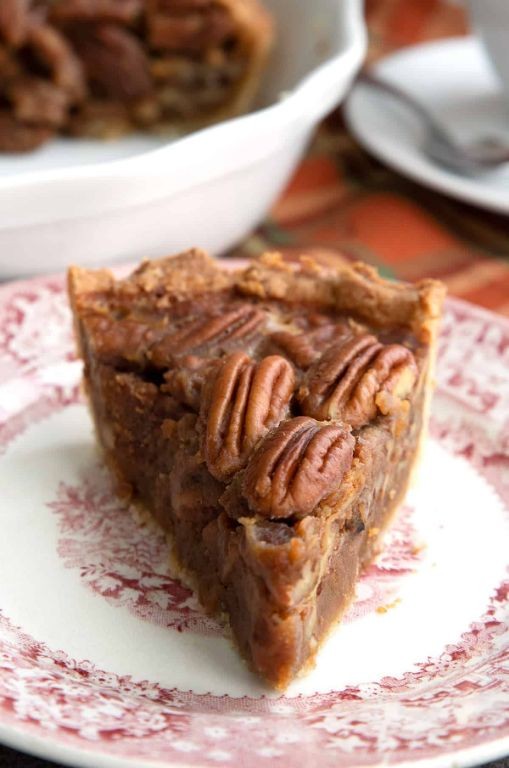
A classic pecan pie gets a sweet twist with the use of Allulose, a low-calorie sugar substitute that provides the same sweetness as sugar without the calories. This recipe is perfect for those looking to reduce their sugar intake while still enjoying the rich flavors of a traditional pecan pie.
Ingredients:
– 1 cup all-purpose flour
– 1/2 cup unsalted butter, melted
– 1/2 cup Allulose
– 2 large eggs
– 1 teaspoon vanilla extract
– 1 cup pecan halves
– 1/4 teaspoon salt
Instructions:
1. Preheat oven to 350°F.
2. In a medium bowl, whisk together flour and melted butter until combined.
3. Add Allulose, eggs, and vanilla extract; whisk until smooth.
4. Stir in pecan halves and salt.
5. Pour mixture into a 9-inch pie dish lined with parchment paper.
6. Bake for 45-50 minutes or until filling is set and crust is golden brown.
Cooking Time: 45-50 minutes
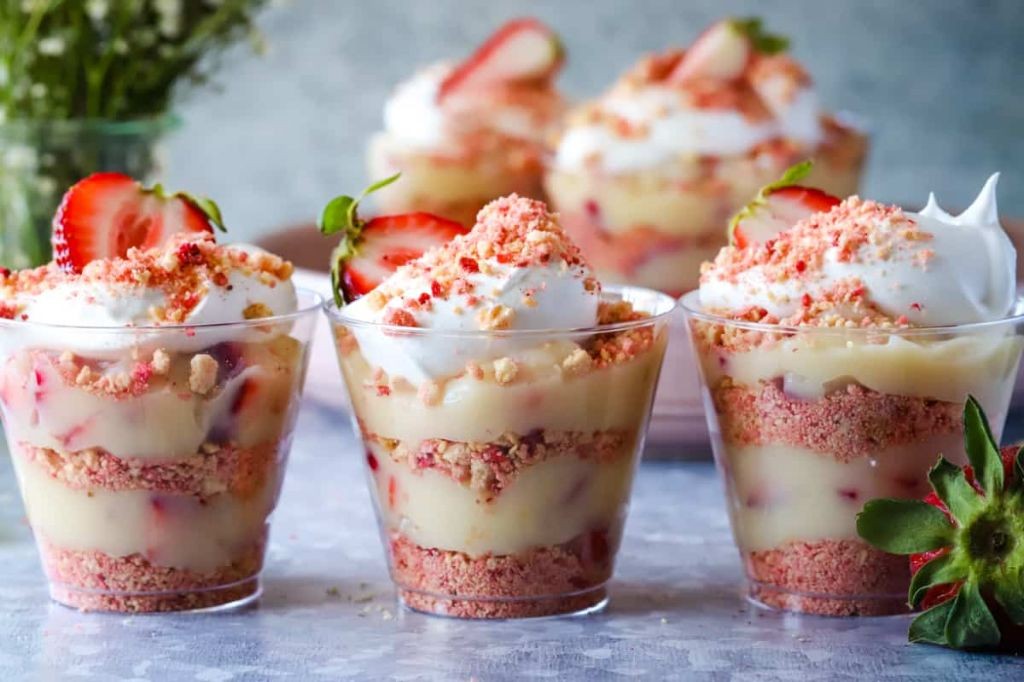
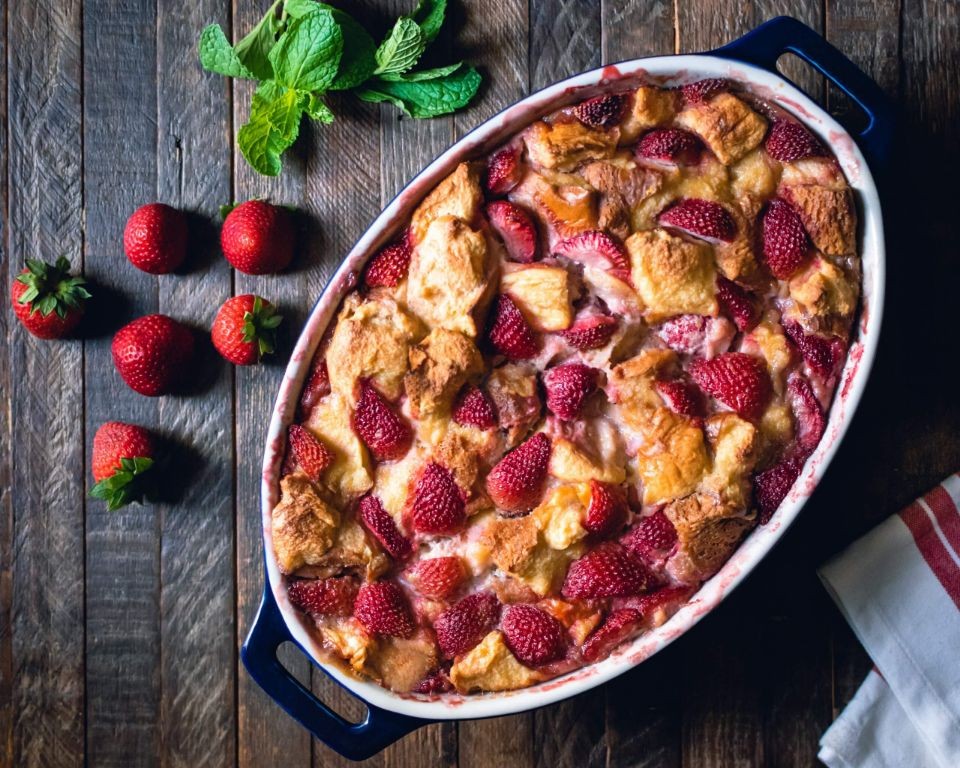
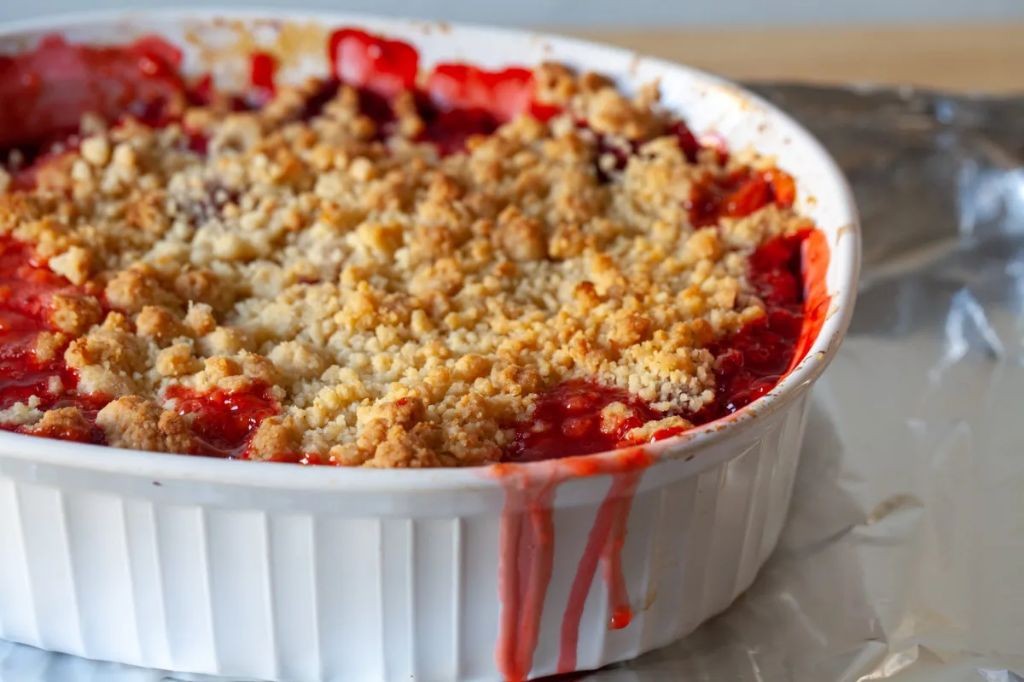
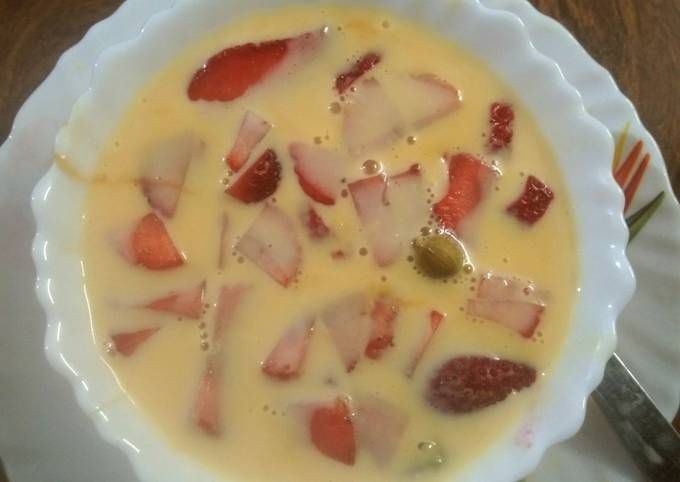
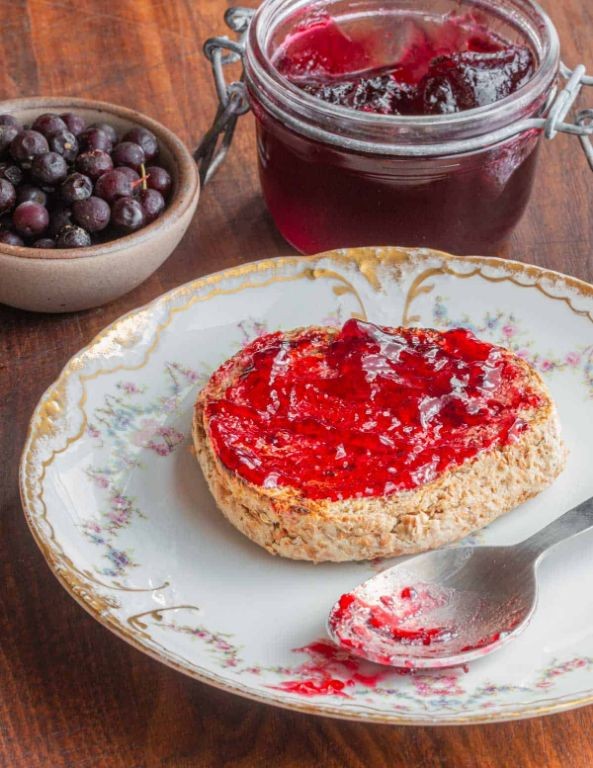
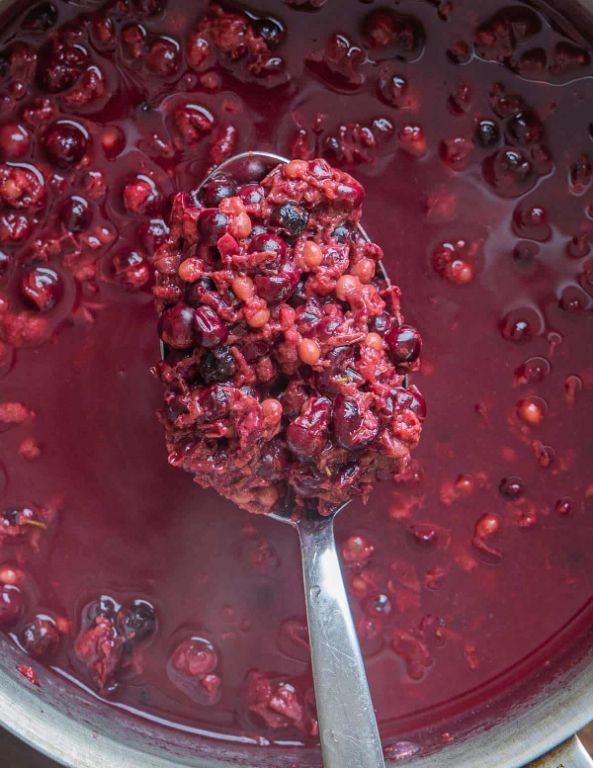
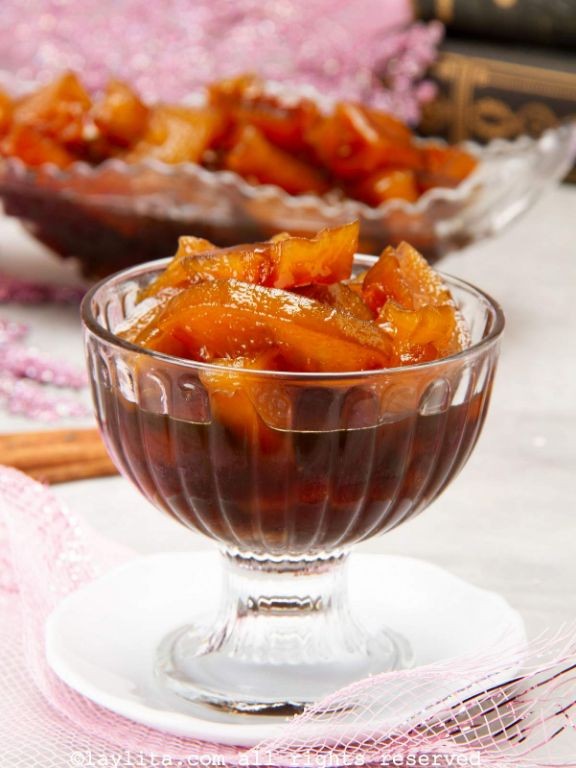
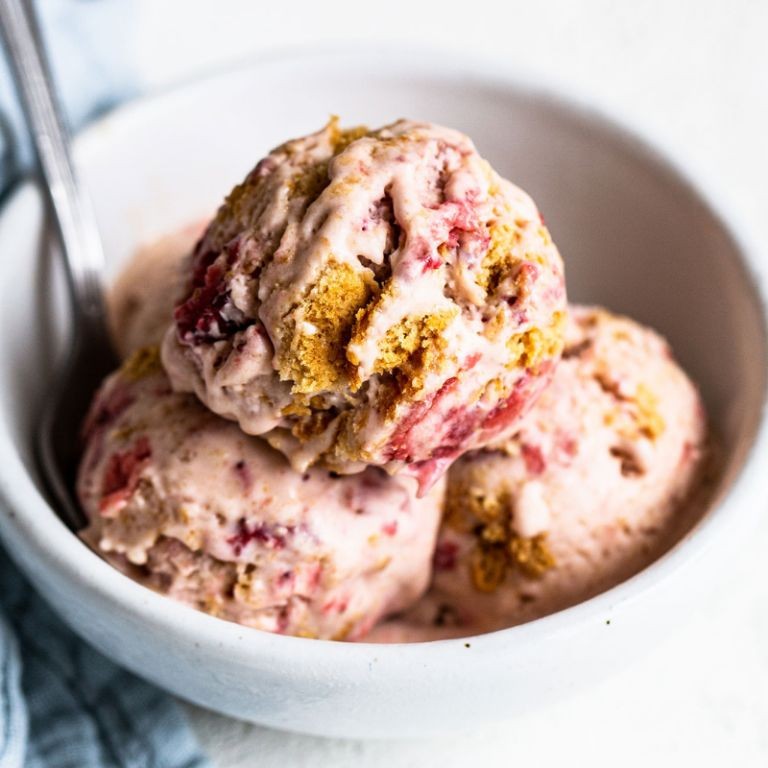
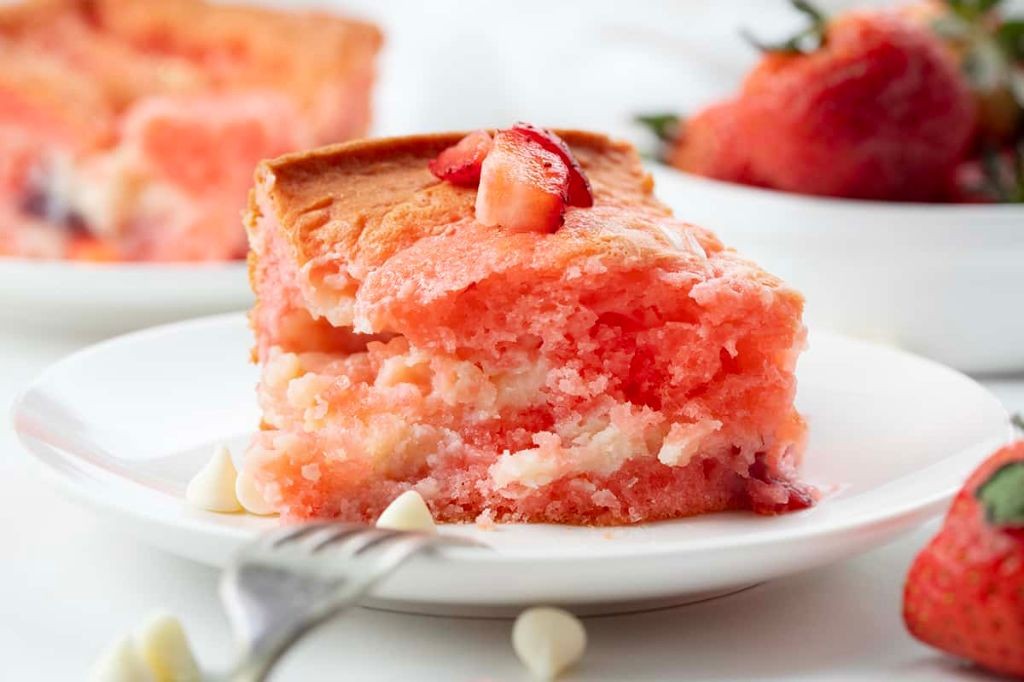
Allulose Strawberry Jam
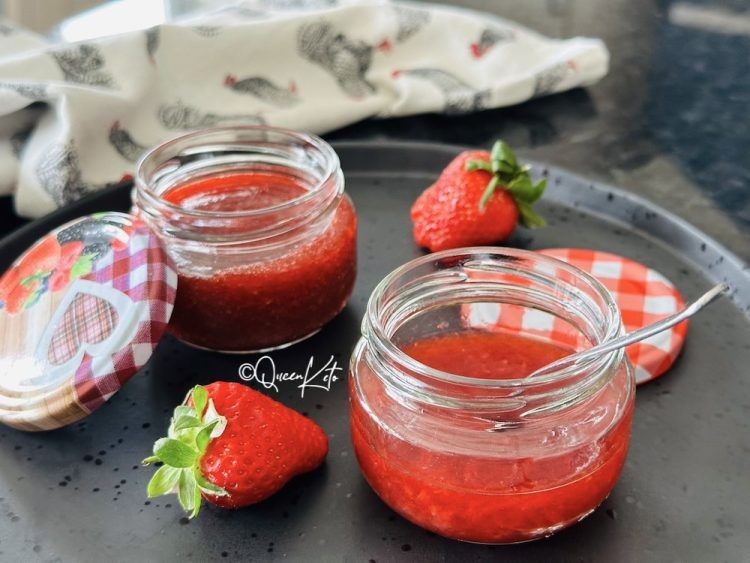
This allulose strawberry jam recipe combines the natural sweetness of strawberries with the unique characteristics of allulose, a low-calorie sugar substitute. Perfect for topping toast, yogurt, or using as a filling for cakes and pastries.
Ingredients:
– 2 cups fresh strawberries, hulled and sliced
– 1/4 cup granulated allulose
– 1 tablespoon lemon juice
– 1/4 teaspoon pectin powder (optional)
Instructions:
1. In a medium saucepan, combine strawberries and allulose.
2. Cook over medium heat, stirring occasionally, until the mixture reaches 220°F (104°C).
3. Remove from heat and stir in lemon juice.
4. If desired, add pectin powder to thicken the jam.
5. Let the jam cool slightly before transferring it to an airtight container.
Cooking Time: 20-25 minutes
Yield: 1 cup of jam
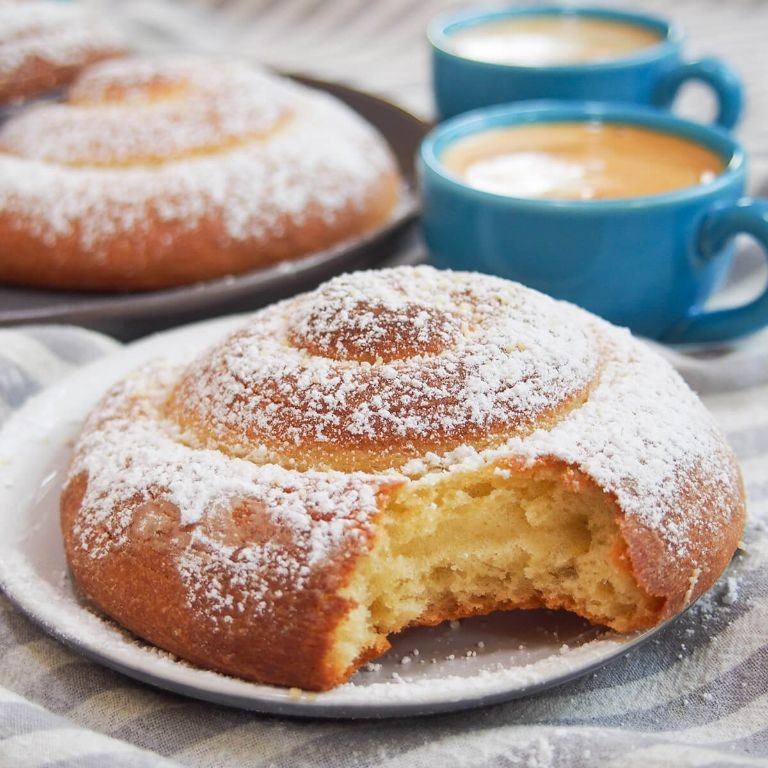
Allulose Cinnamon Rolls
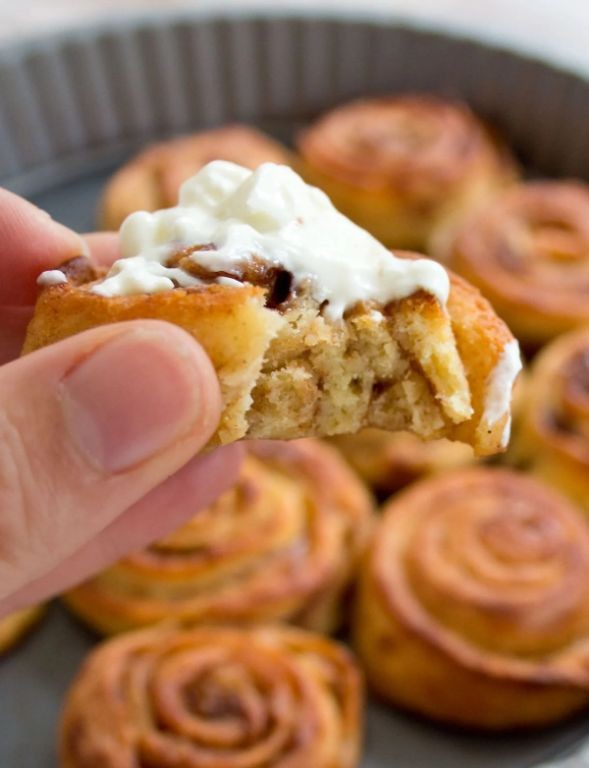
These soft, fluffy cinnamon rolls are elevated by the unique sweetness of allulose, a low-calorie sugar substitute that’s perfect for those looking to reduce their sugar intake. With a hint of spice and a crunchy topping, these rolls are sure to satisfy your sweet tooth.
Ingredients:
– 1 cup warm water
– 2 teaspoons active dry yeast
– 3 tablespoons allulose
– 4 cups all-purpose flour
– 1 teaspoon salt
– 1/4 cup unsalted butter, melted
– 1/2 cup cinnamon sugar (a mix of granulated sugar and cinnamon)
– Confectioners’ sugar for dusting
Instructions:
1. In a large mixing bowl, combine warm water and yeast. Let it sit for 5 minutes.
2. Add allulose, flour, and salt to the mixture. Mix until a shaggy dough forms.
3. Knead the dough for 10 minutes until smooth.
4. Roll out the dough to a thickness of about 1/4 inch.
5. Spread melted butter evenly over the dough, leaving a 1-inch border.
6. Sprinkle cinnamon sugar mixture over the butter.
7. Roll up the dough tightly and cut into 12 equal pieces.
8. Place rolls on a baking sheet lined with parchment paper.
9. Bake at 375°F for 18-20 minutes or until golden brown.
10. Dust with confectioners’ sugar before serving.
Cooking Time: 18-20 minutes
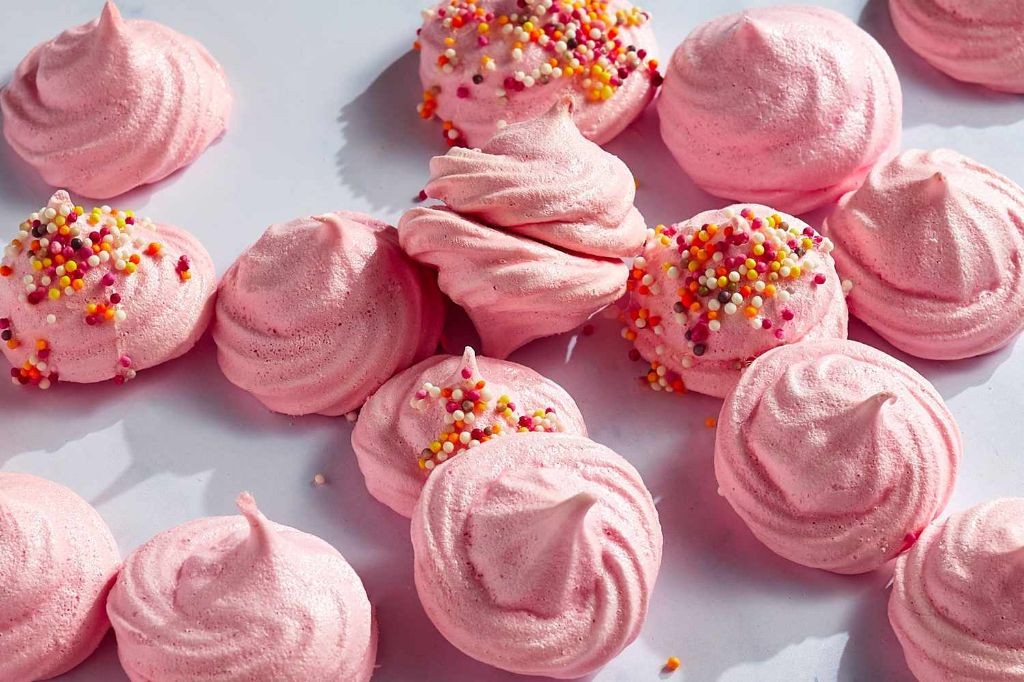
Allulose Coconut Macaroons
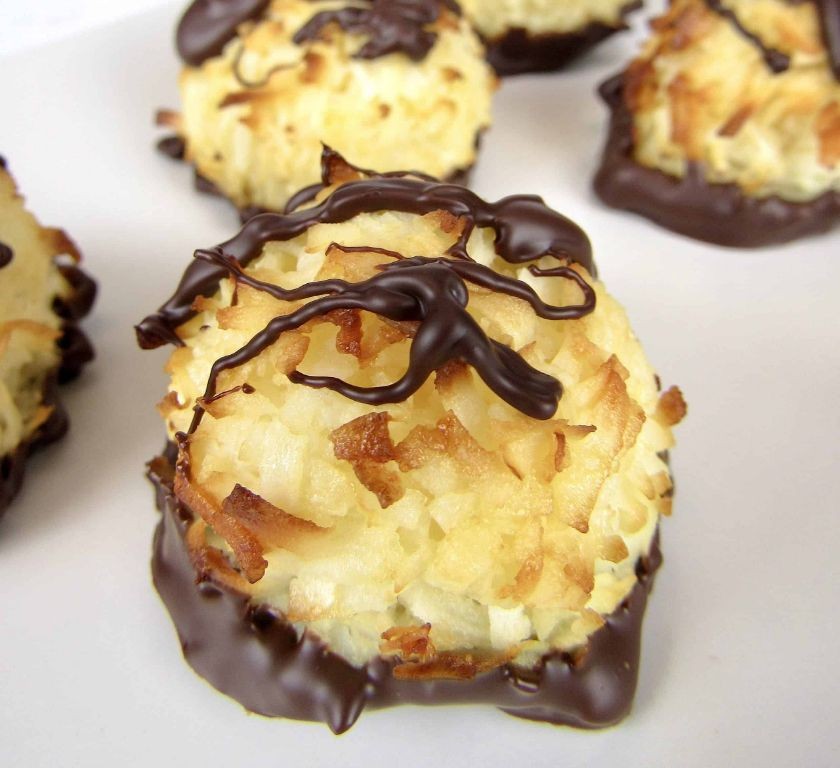
These chewy macaroons are a unique twist on the classic recipe, using allulose instead of sugar. The result is a sweet and tender treat that’s perfect for those looking to reduce their sugar intake.
Ingredients:
– 1 cup unsweetened shredded coconut
– 1/2 cup allulose
– 3 large egg whites
– 1 teaspoon vanilla extract
– Pinch of salt
Instructions:
1. Preheat oven to 325°F (165°C). Line a baking sheet with parchment paper.
2. In a medium bowl, whisk together coconut, allulose, and salt.
3. In a separate bowl, whip egg whites until frothy. Add vanilla extract and continue whipping until stiff peaks form.
4. Fold the egg mixture into the coconut mixture until well combined.
5. Drop rounded tablespoonfuls of the mixture onto the prepared baking sheet, about 1 inch apart.
6. Bake for 18-20 minutes or until lightly golden.
Cooking Time: 18-20 minutes
Allulose Sweet Tea
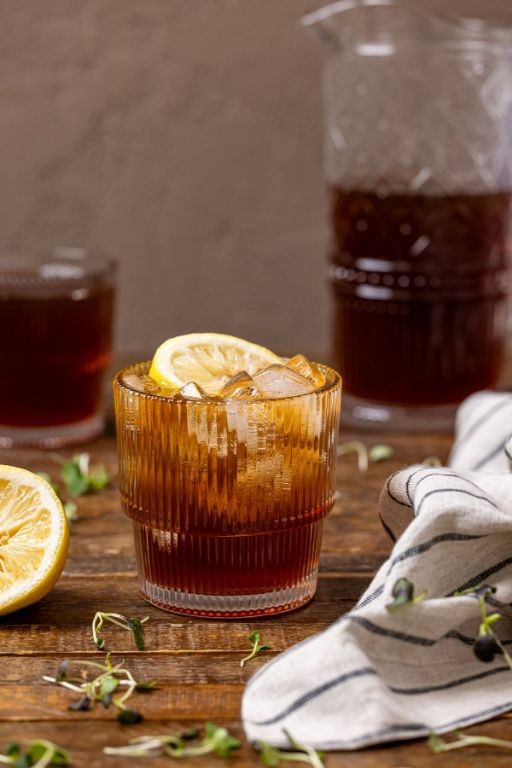
Sweet Tea with Allulose Recipe
Experience the delightful taste of traditional sweet tea with a twist – using Allulose, a natural low-calorie sugar substitute! This recipe yields a refreshing and slightly sweet brew perfect for hot summer days.
Ingredients:
– 1 quart water
– 4 black tea bags (such as Luzianne or Lipton)
– 2 tablespoons Allulose granules
– 1 lemon, sliced
– Ice cubes
Instructions:
1. Bring the quart of water to a boil.
2. Remove from heat and add the tea bags. Let steep for 5 minutes.
3. Strain the tea into a large pitcher or jug. Discard the tea bags.
4. Add the Allulose granules and stir until dissolved.
5. Chill the tea in the refrigerator for at least 30 minutes.
6. Serve over ice and garnish with a lemon slice, if desired.
Cooking Time: 10 minutes
Allulose Maple Glazed Donuts

Elevate your donut game with this unique flavor combination featuring allulose, a low-calorie sugar substitute. These sweet treats are perfect for a brunch or snack.
Ingredients:
– 2 cups all-purpose flour
– 1/2 cup whole milk
– 1/4 cup granulated sugar (or to taste)
– 2 teaspoons active dry yeast
– 1/4 teaspoon salt
– 2 large eggs
– 2 tablespoons unsalted butter, melted
– Allulose maple glaze (see below)
Instructions:
1. Preheat the oil in a deep frying pan to 350°F.
2. In a mixing bowl, whisk together flour, milk, sugar, yeast, and salt.
3. Add eggs one at a time, whisking well after each addition.
4. Pour in melted butter and whisk until smooth.
5. Fry donuts in batches for 1-2 minutes on each side, or until golden brown.
6. Allow excess oil to drain before glazing.
Allulose Maple Glaze:
– 1 cup powdered sugar
– 2 tablespoons allulose
– 2 tablespoons pure maple syrup
Whisk together until smooth. Dip cooled donuts in the glaze and serve immediately.
Cooking Time: Approximately 10-12 minutes to fry donuts, plus glazing time.
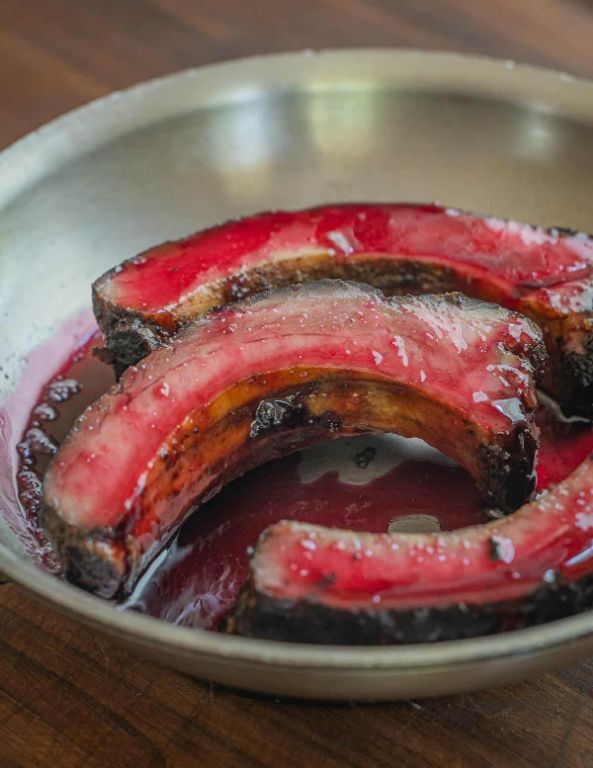
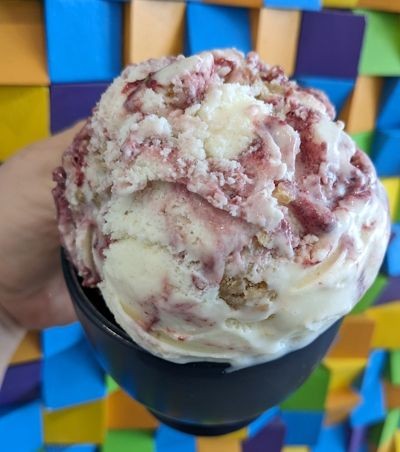
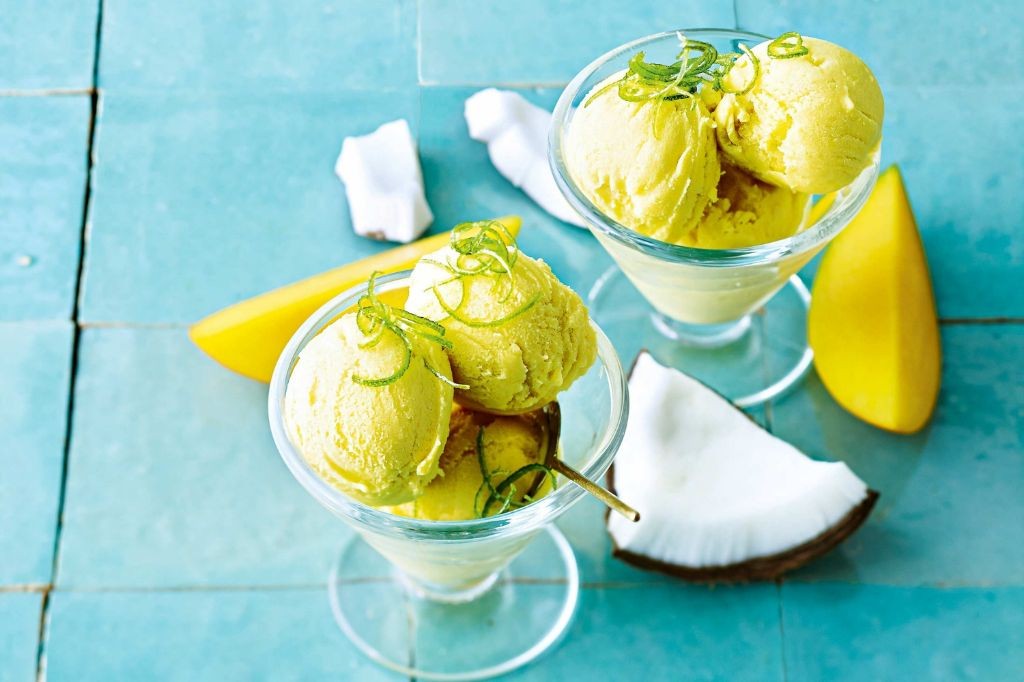
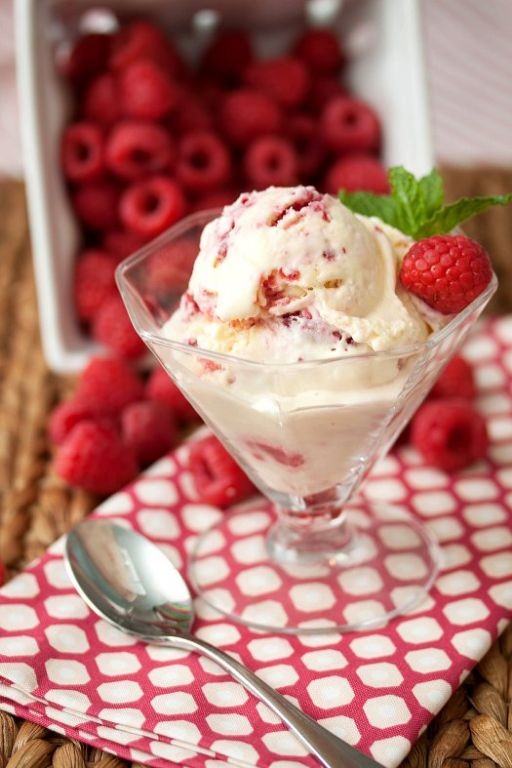
Allulose Raspberry Sorbet
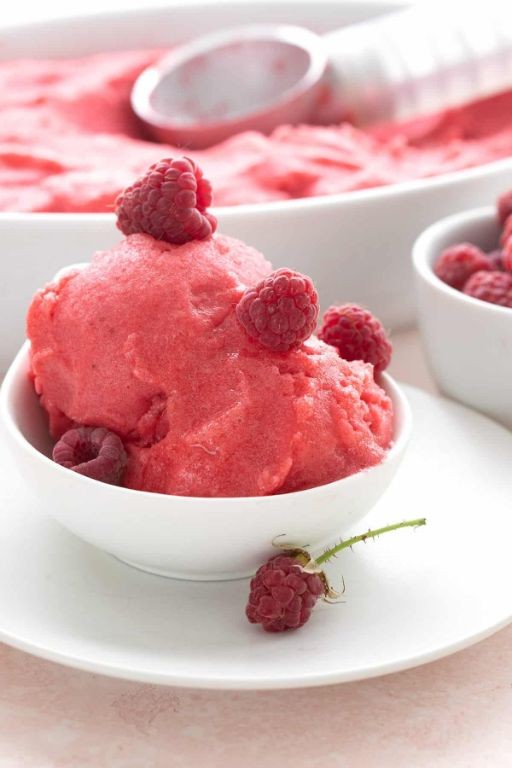
Beat the heat with this refreshing allulose raspberry sorbet recipe! With its unique sweetness and tartness, you’ll be hooked from the first scoop.
Ingredients:
– 1 cup fresh raspberries
– 1/2 cup granulated allulose
– 1 cup heavy cream
– 1 tablespoon lemon juice
Instructions:
1. Rinse the raspberries and remove any stems or leaves.
2. In a blender or food processor, puree the raspberries until smooth.
3. In a medium saucepan, combine the raspberry puree, allulose, and lemon juice. Heat over medium heat, stirring occasionally, until the sugar has dissolved (about 5 minutes).
4. Remove from heat and let cool to room temperature.
5. Cover and refrigerate for at least 2 hours or overnight.
6. Pour the mixture into an ice cream maker and churn according to manufacturer’s instructions.
7. Once set, transfer to an airtight container and store in the freezer.
Cooking Time: None (refrigeration and freezing required)
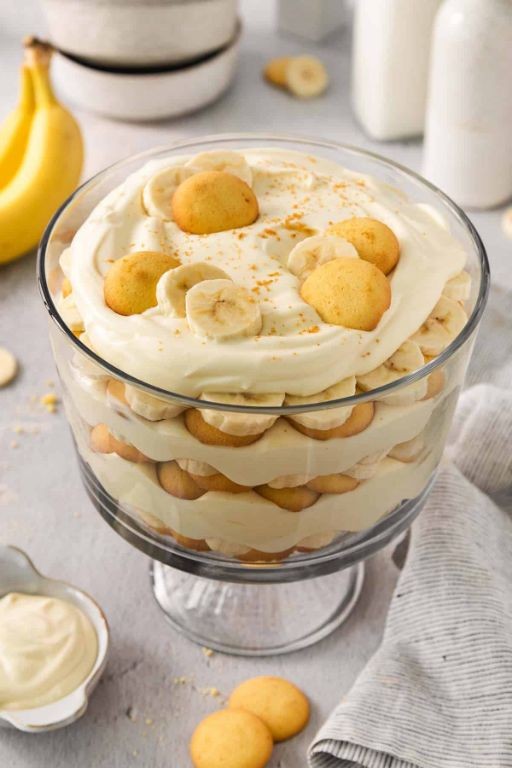
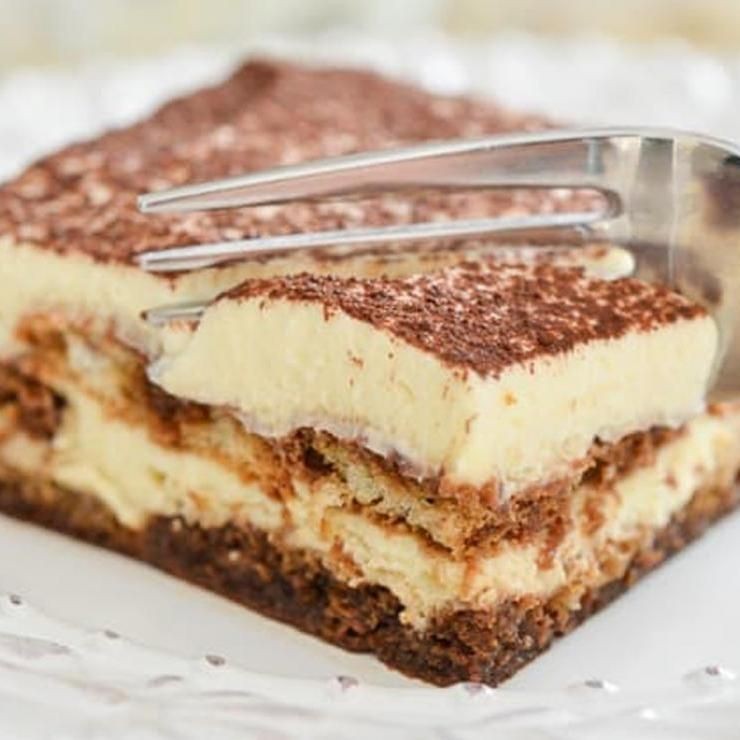
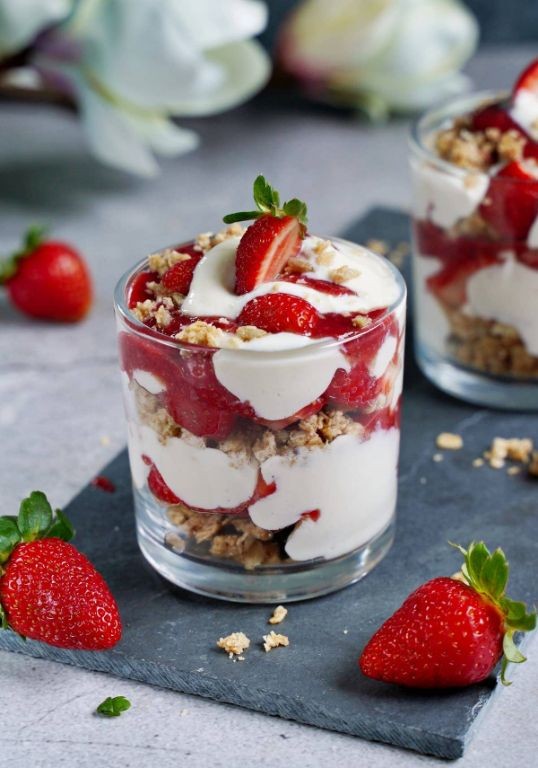
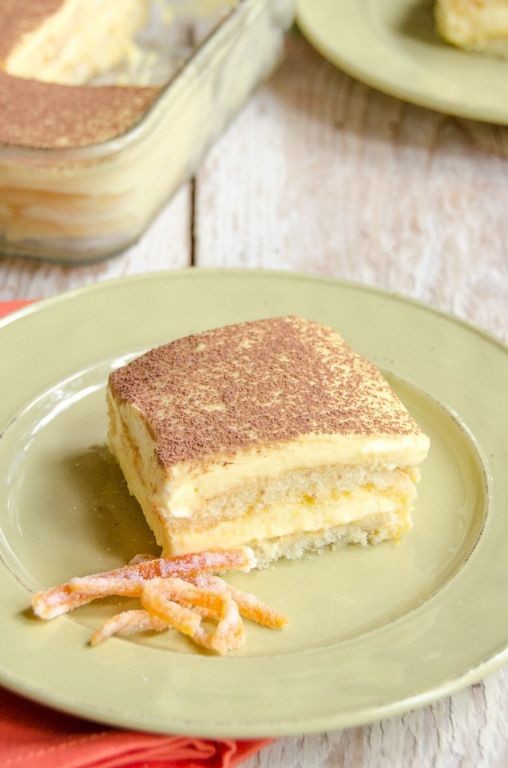
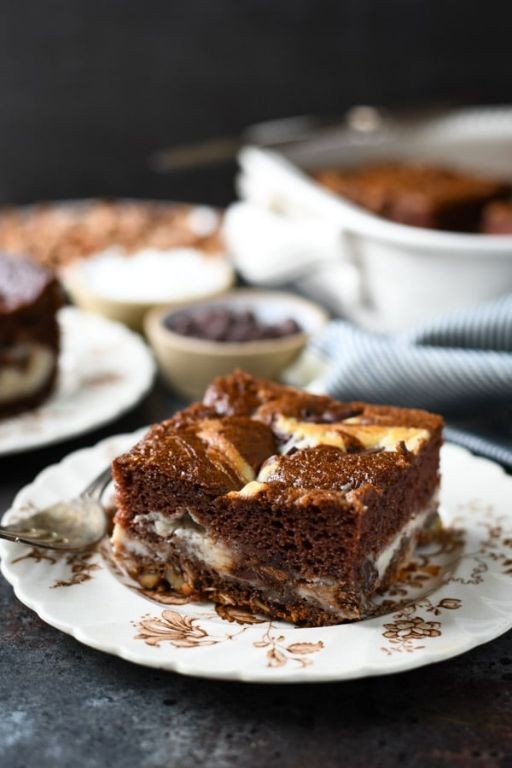
Allulose Tiramisu
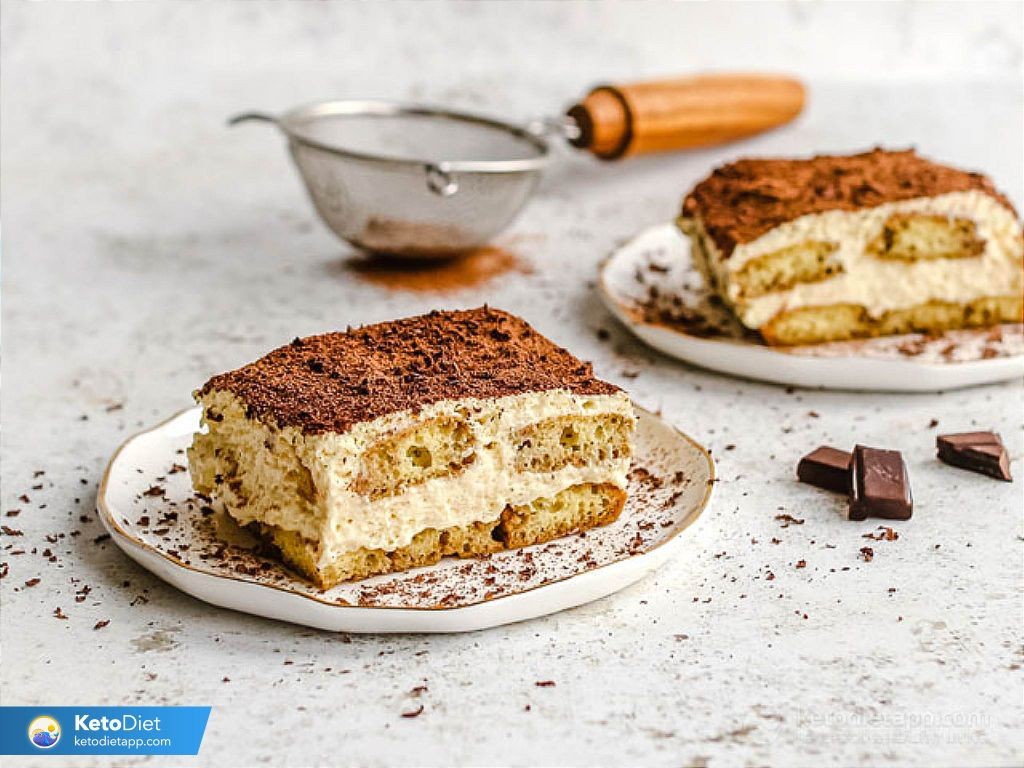
Elevate your dessert game with this creamy and decadent Allulose Tiramisu, featuring the sweetness of allulose instead of refined sugar.
Ingredients:
• 12-16 ladyfingers
• 1 cup strong brewed coffee
• 8 oz mascarpone cheese
• 1/2 cup heavy cream
• 2 tbsp unsweetened cocoa powder
• 1 tsp vanilla extract
• 1/4 cup Allulose granulated sweetener
Instructions:
1. In a large bowl, combine the brewed coffee and 2 tbsp of the Allulose sweetener. Stir until dissolved.
2. Dip each ladyfinger into the coffee mixture for about 3-5 seconds on each side. They should be soft and pliable.
3. In a separate bowl, whisk together the mascarpone cheese, heavy cream, cocoa powder, and vanilla extract until smooth.
4. To assemble, start with a layer of ladyfingers in a serving dish. Top with half of the mascarpone mixture, spreading evenly.
5. Repeat the layers, finishing with a layer of mascarpone on top.
6. Dust with cocoa powder and refrigerate for at least 3 hours or overnight.
Cooking Time: 30 minutes (plus chilling time)
Summary
Indulge in sweet treats without the guilt! This article features 18 delicious recipes that use allulose, a sugar substitute that’s 70% as sweet as sugar but has zero calories and doesn’t raise blood sugar levels. From classic desserts like cookies and cheesecake to unique creations like caramel sauce and strawberry jam, these sugar-free delights are sure to satisfy your cravings while keeping your diet on track. Whether you’re watching your weight or managing diabetes, these recipes offer a tasty solution for those looking for a sweet treat without the sugar rush.